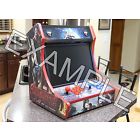
In January 2017 I learned about RetroPie and RaspberryPi emulation. I first started off creating a RaspberryPi that connected to my TV and used the Wii PRO Controller. I’ve always been into emulating old classic consoles however it never seemed right playing them on my phone or computer. After I tested different images and different components I started reading up on bar top arcades.
In March of 2017 I’ve watched tons of Youtube videos and joined several different Facebook groups where users have already created their own bartops. I started to plan out and piece everything I would need to purchase to make a complete RetroPie Bartop Arcade machine.
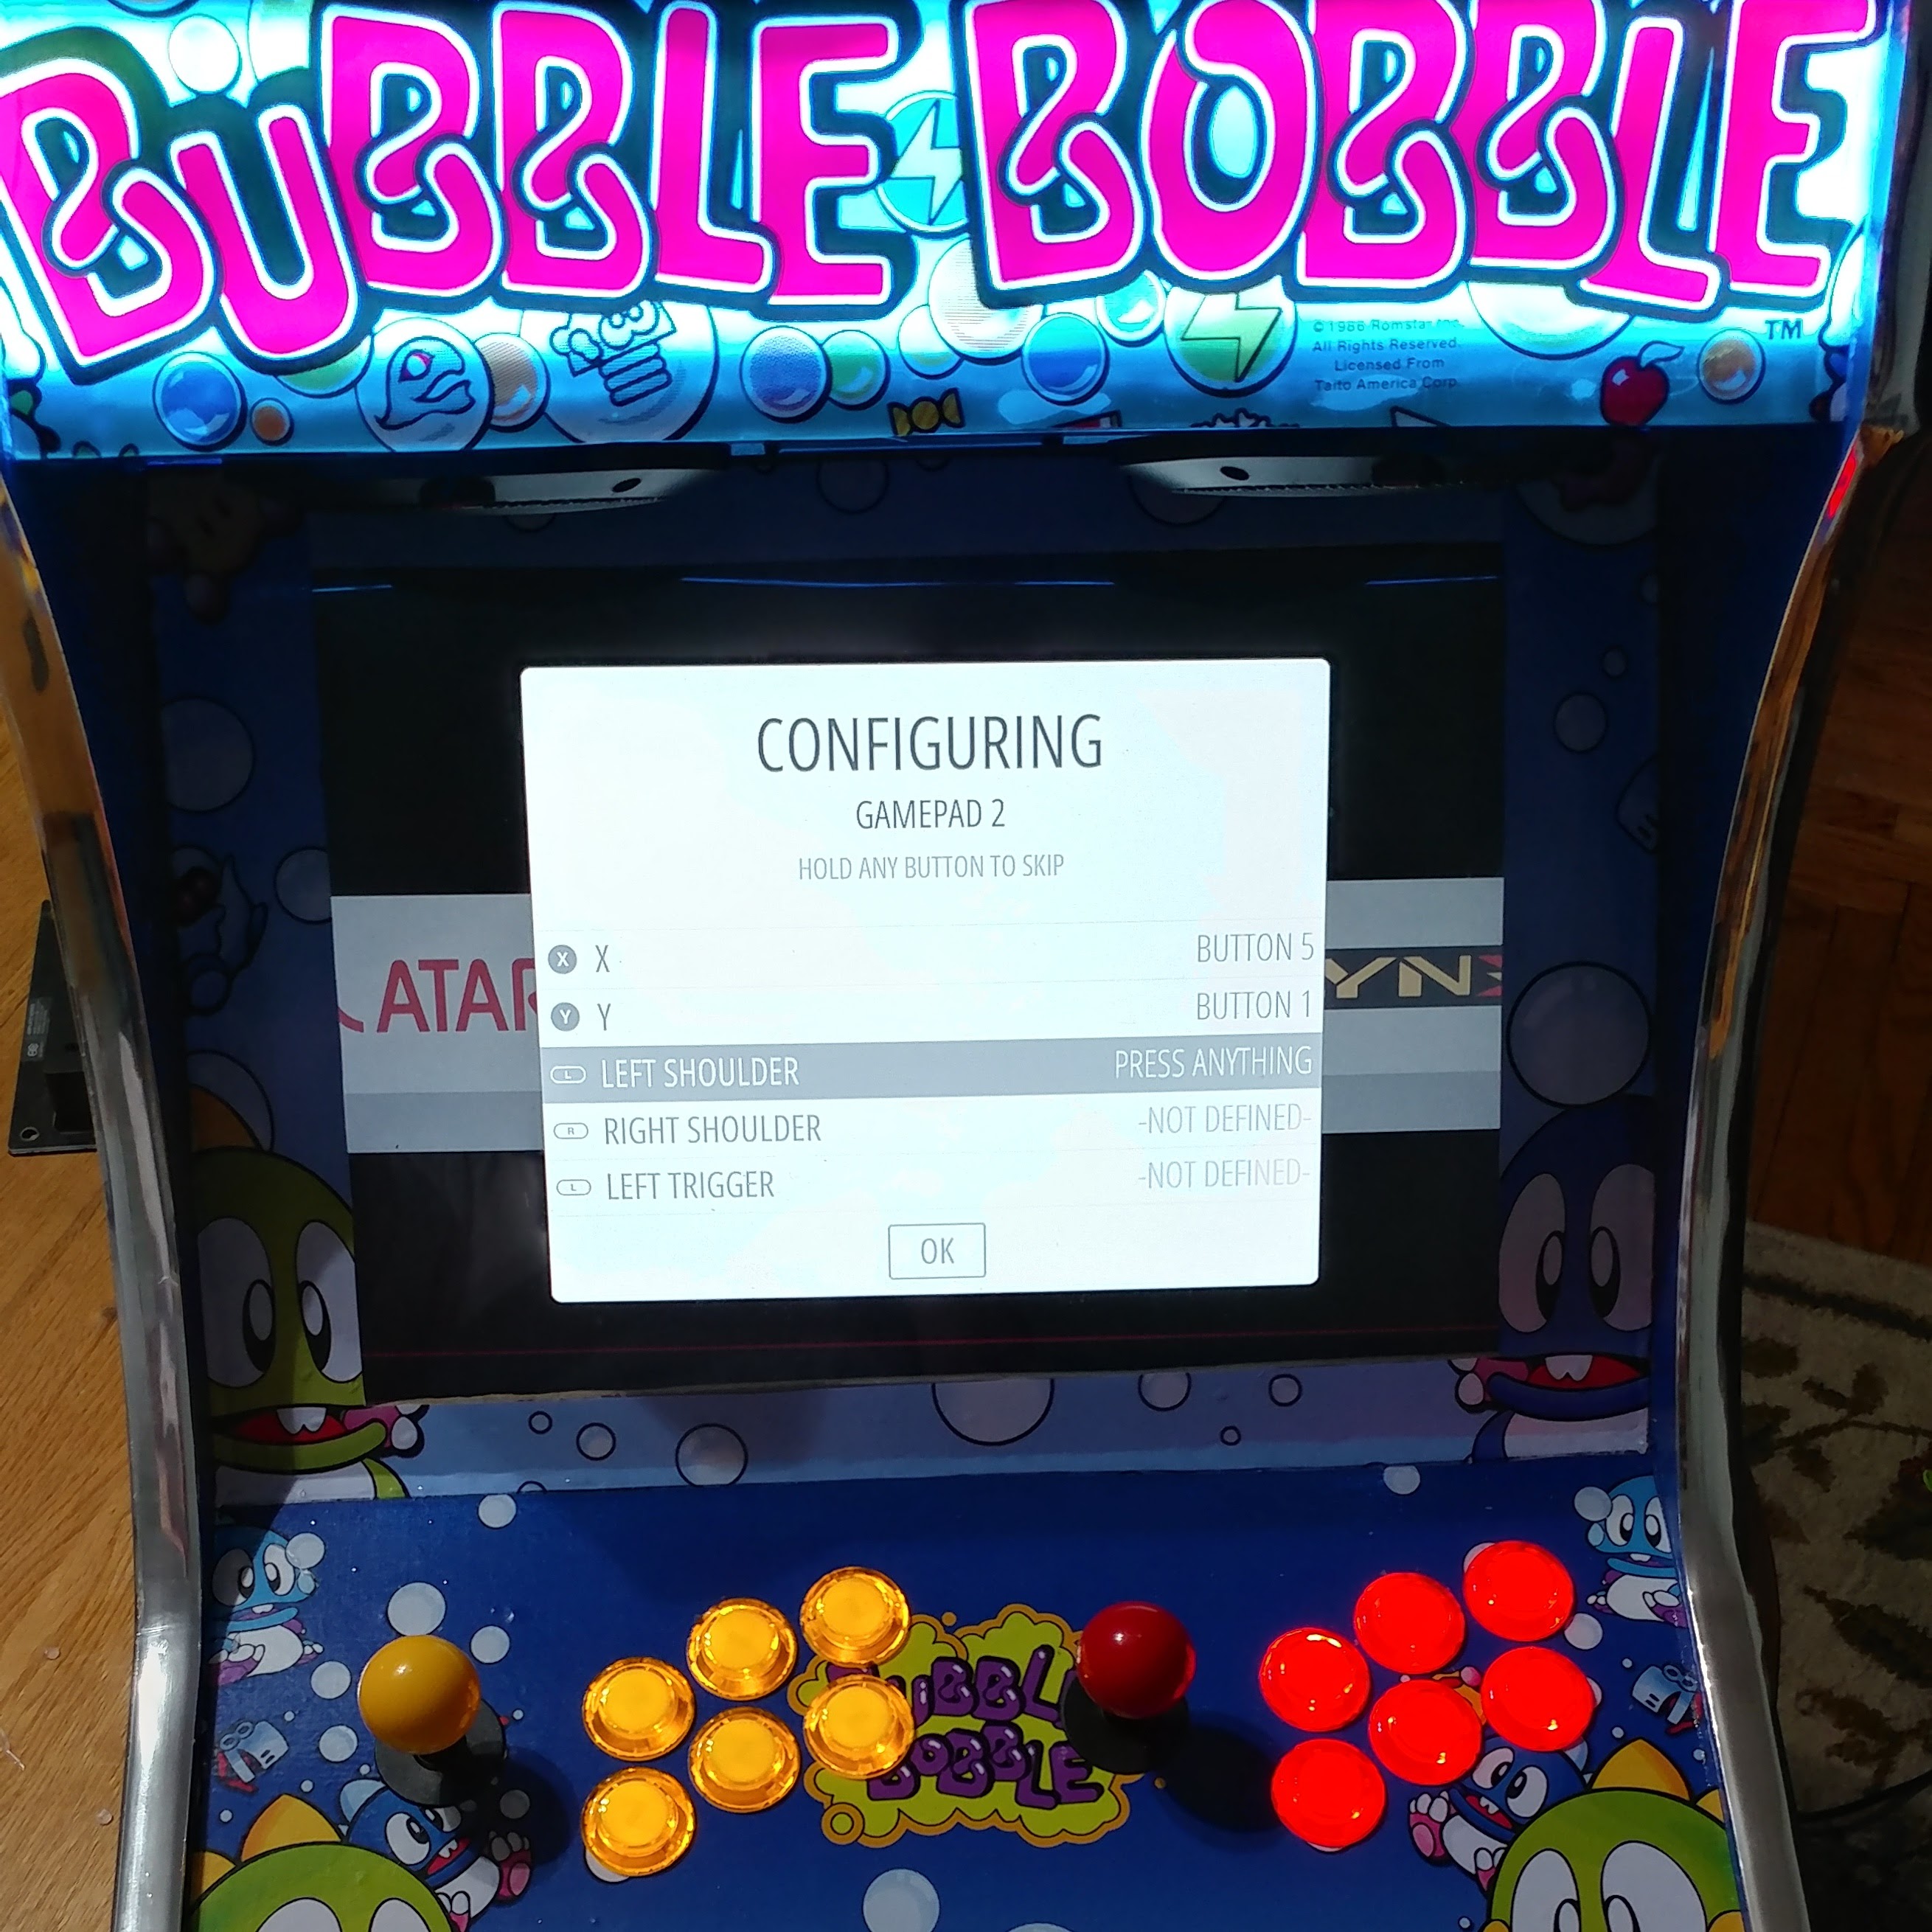
My bartop arcade is running a RaspberryPi Model 3 board using RetroPie/EmulationStation/HyperPie
T-Molding Cuts Included! – MDF Bartop Arcade Cabinet – Do It Yourself Kit
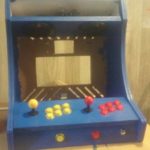
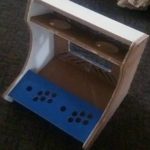
I’m not that great with cutting wood so I decided to order a premade bartop that was already cut to hold a 19″ monitor and the T-Molding was already cut out. I watched YouTube videos were people have entire work-shops setup in their garage. Even tho this was precut and you would think everything should just fit we had to a lot of different modifications.
Purchased On: eBay
Price: $85.00
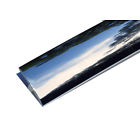
20ft of 3/4 Chrome T-Molding for Arcade Games, Mame Machine, or Cabinets
Since the pre-cut bartop MDF board we purchased already had the T-moldings cut this was easy to install. We installed the T-molding after the entire bar top arcade was completed.
Purchased On: eBay
Price: $13.00
Bubble Bobble “B” Arcade Marquee 26″x8″
I had to do a lot of modifications to make this fit. Lets face it if I did my own cuts and measurements I wouldn’t of had to modify however this was my first bartop arcade build. I also used a pre-cut bartop layout MDF board that was already cut so we had to do a lot of hacks to get everything to fit correctly.

Purchased On: eBay
Price: $18.00
RockStar Print
I ordered all the Vinyl’s from the side art, bezel, controls from Rockstarprint the price was great the only problem is they ship from the United Kingdom with USPS. Which took a little more then 2 weeks to get to me. Again the sizing was off since this was a bartop, so we used the best pieces and just cut off the excess. I used a heat gun on very low heat to get the vinyls to stick nice to the mdf particle board.

Purchased On: RockStarPrint.co.uk
Price: $18.00
SanDisk Ultra 128GB microSDXC
If you are using HyperPie or any other image I’d recommend using a 128GB card, or 256GB card.
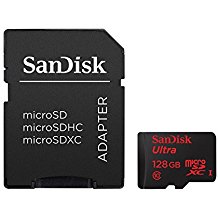
Purchased on: Amazon
Price: $40.45
WINGONEER Protector case for Raspberry Pi 3 Model B
Awesome case for the price also allows for cooling.
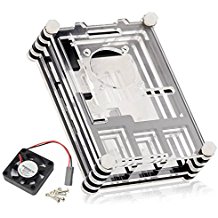
Purchased on: Amazon
Price: $9.99
CanaKit Raspberry Pi 3 Kit with Clear Case and 2.5A Power Supply
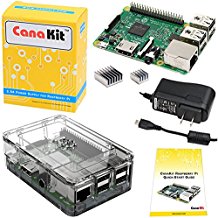
Purchased on: Amazon
Price: $49.99
Sunnest 16.4ft 5M Waterproof Flexible LED Strip Lights 5050SMD RGB 300 LED Color Changing LED Strip Kit with 44Key Remote+12V 5A Power Supply+IR Control Box
I placed this behind the marquee banner so this way I could change the color or fade between different colors.
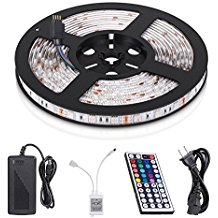
Purchased on: Amazon
Price: $19.99
Easyget 2 Player LED Illuminated Arcade Game DIY Parts Kit for USB MAME & Raspberry Pi RetroPie Cabinet DIY Color: Red + Yellow
These actually came out awesome and was super easy to map. The hardest part was my precut arcade MDF board I had to purchase a router to route the wood so the joy sticks would stick up higher.
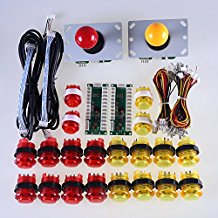
Purchased on: Amazon
Price: $65.00
2 Ports Dual USB 3.0 Male to USB 3.0 Female AUX Flush Mount Car Mount Extension Cable for Car Truck Boat Motorcycle Dashboard Panel -(3 Feet)
I purchased this after I pretty much had the entire bar-top arcade assembled. I never actually installed it yet but I figured this would be an awesome idea to charge your keyboard or another device off the back of the arcade cabinet.
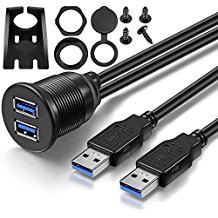
Purchased on: Amazon
Price: $11.99
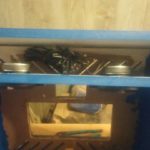
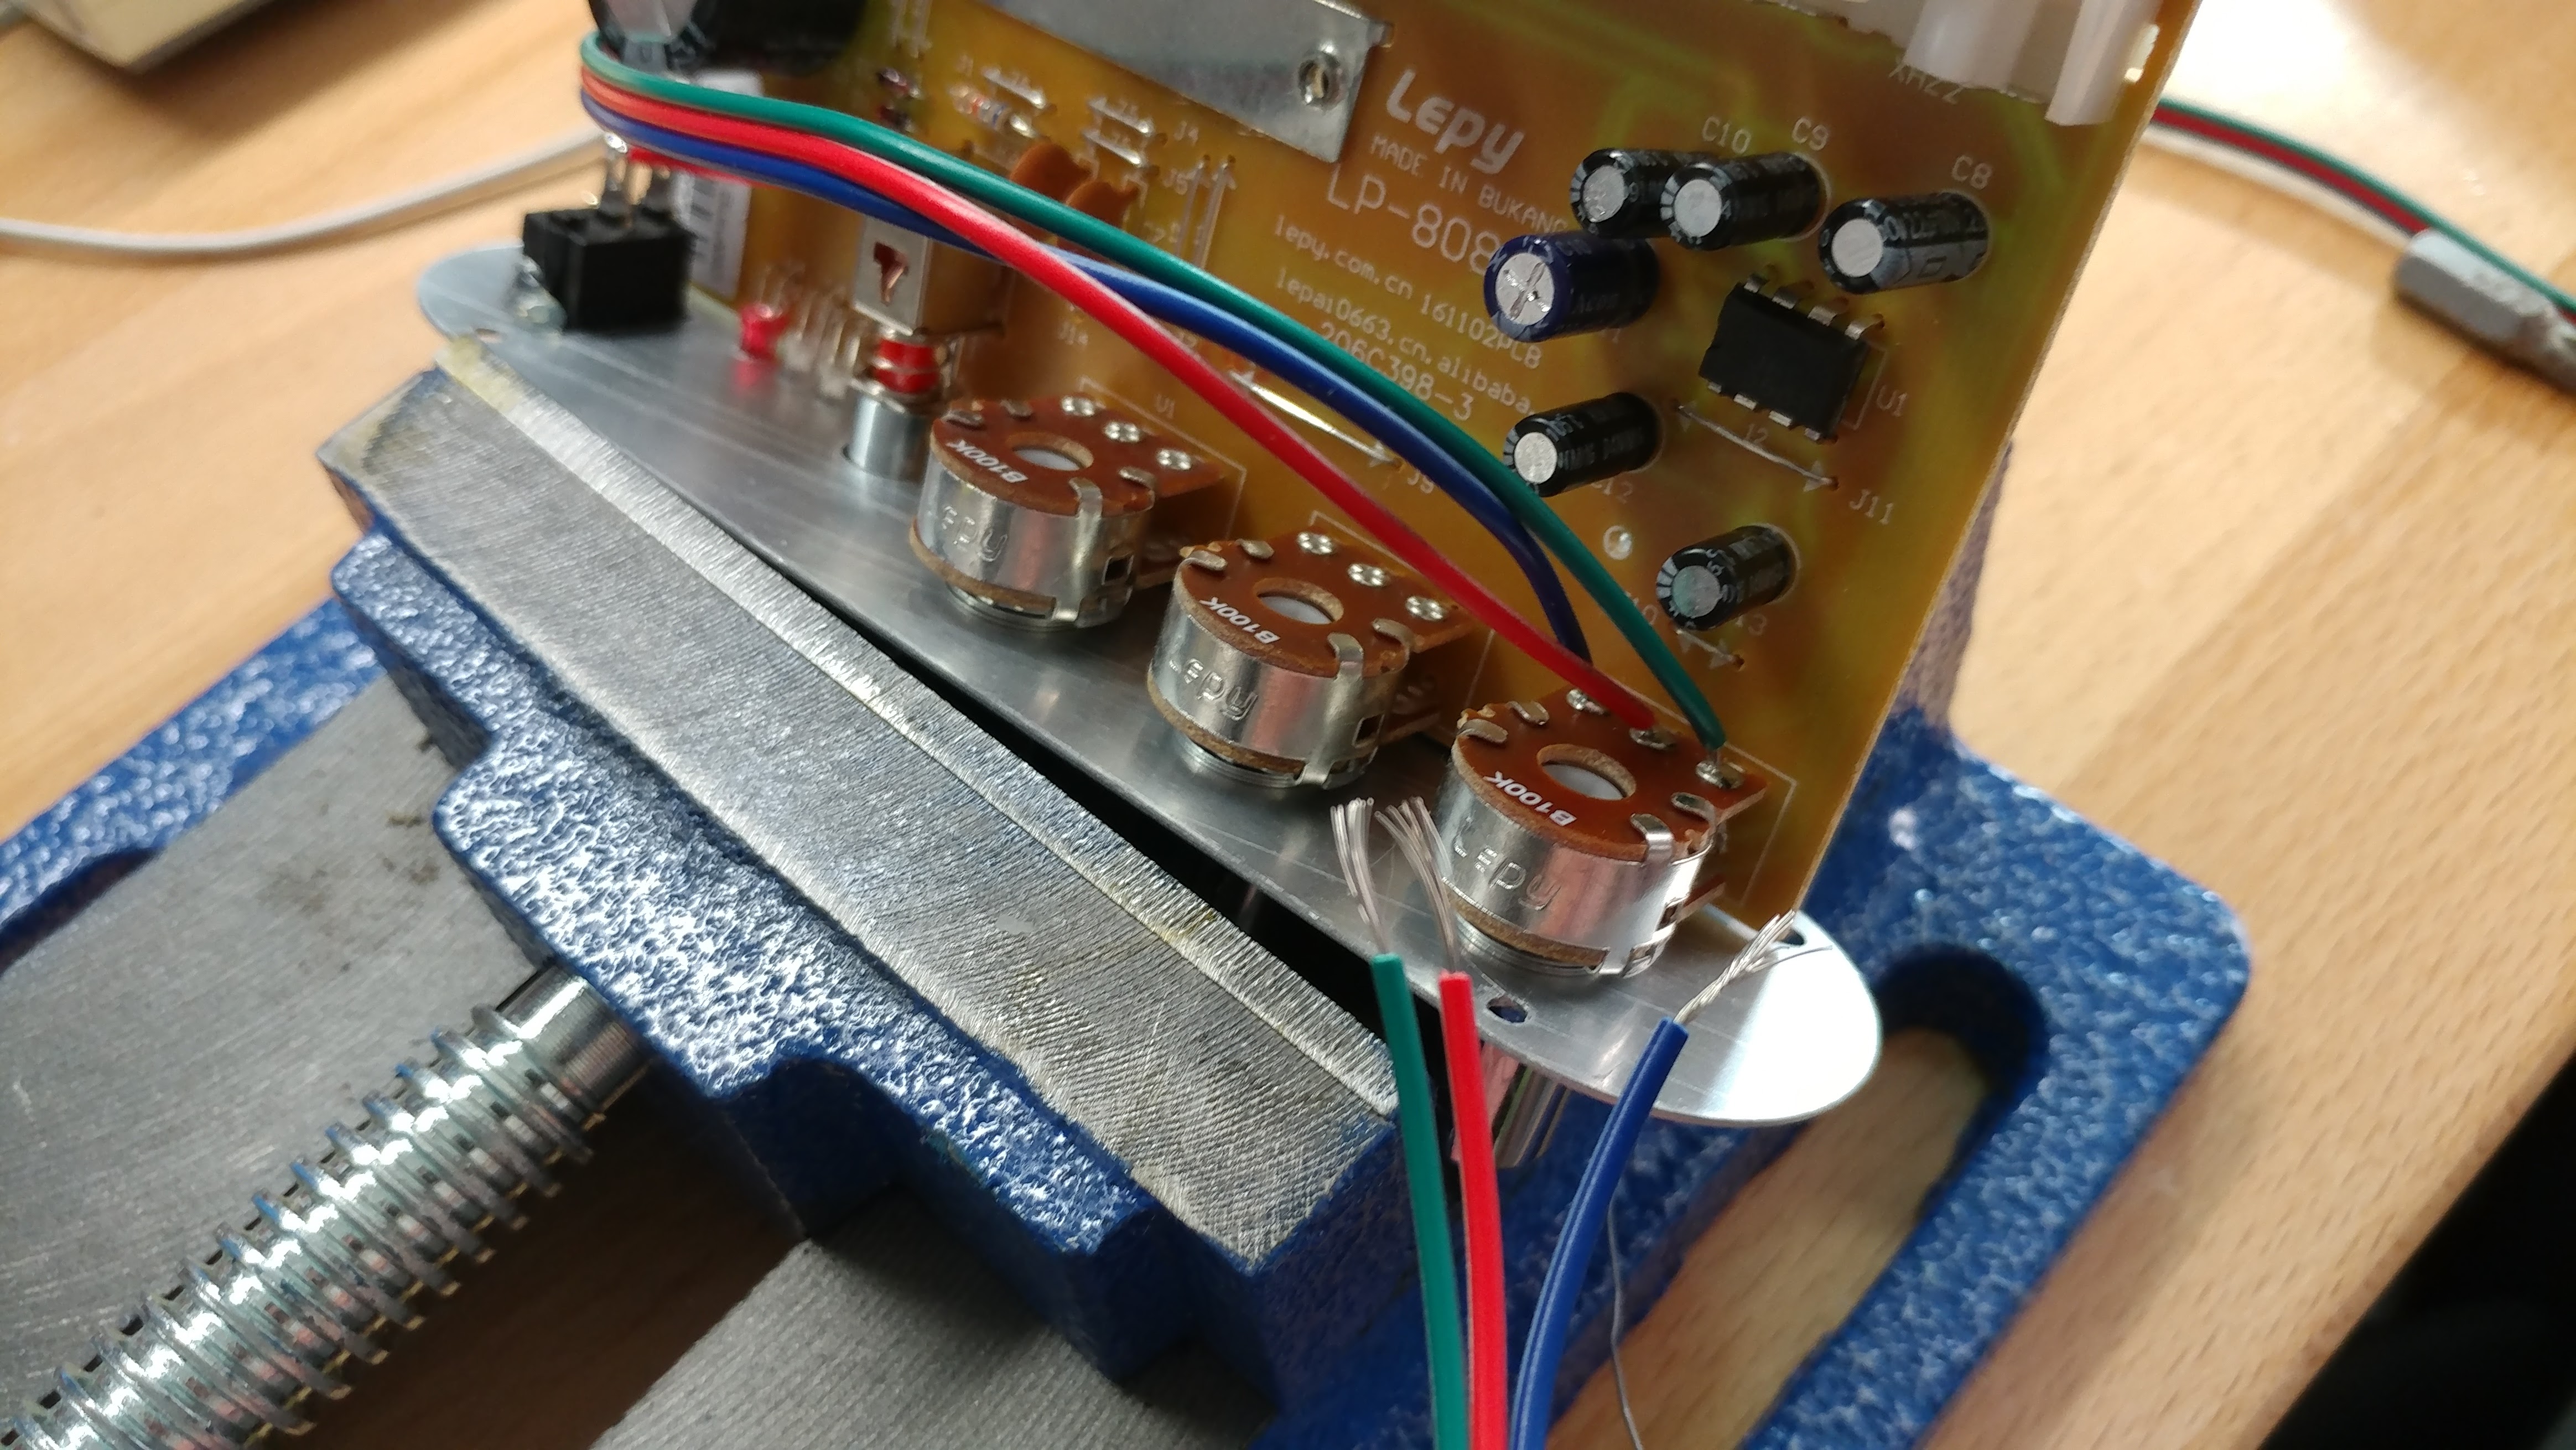
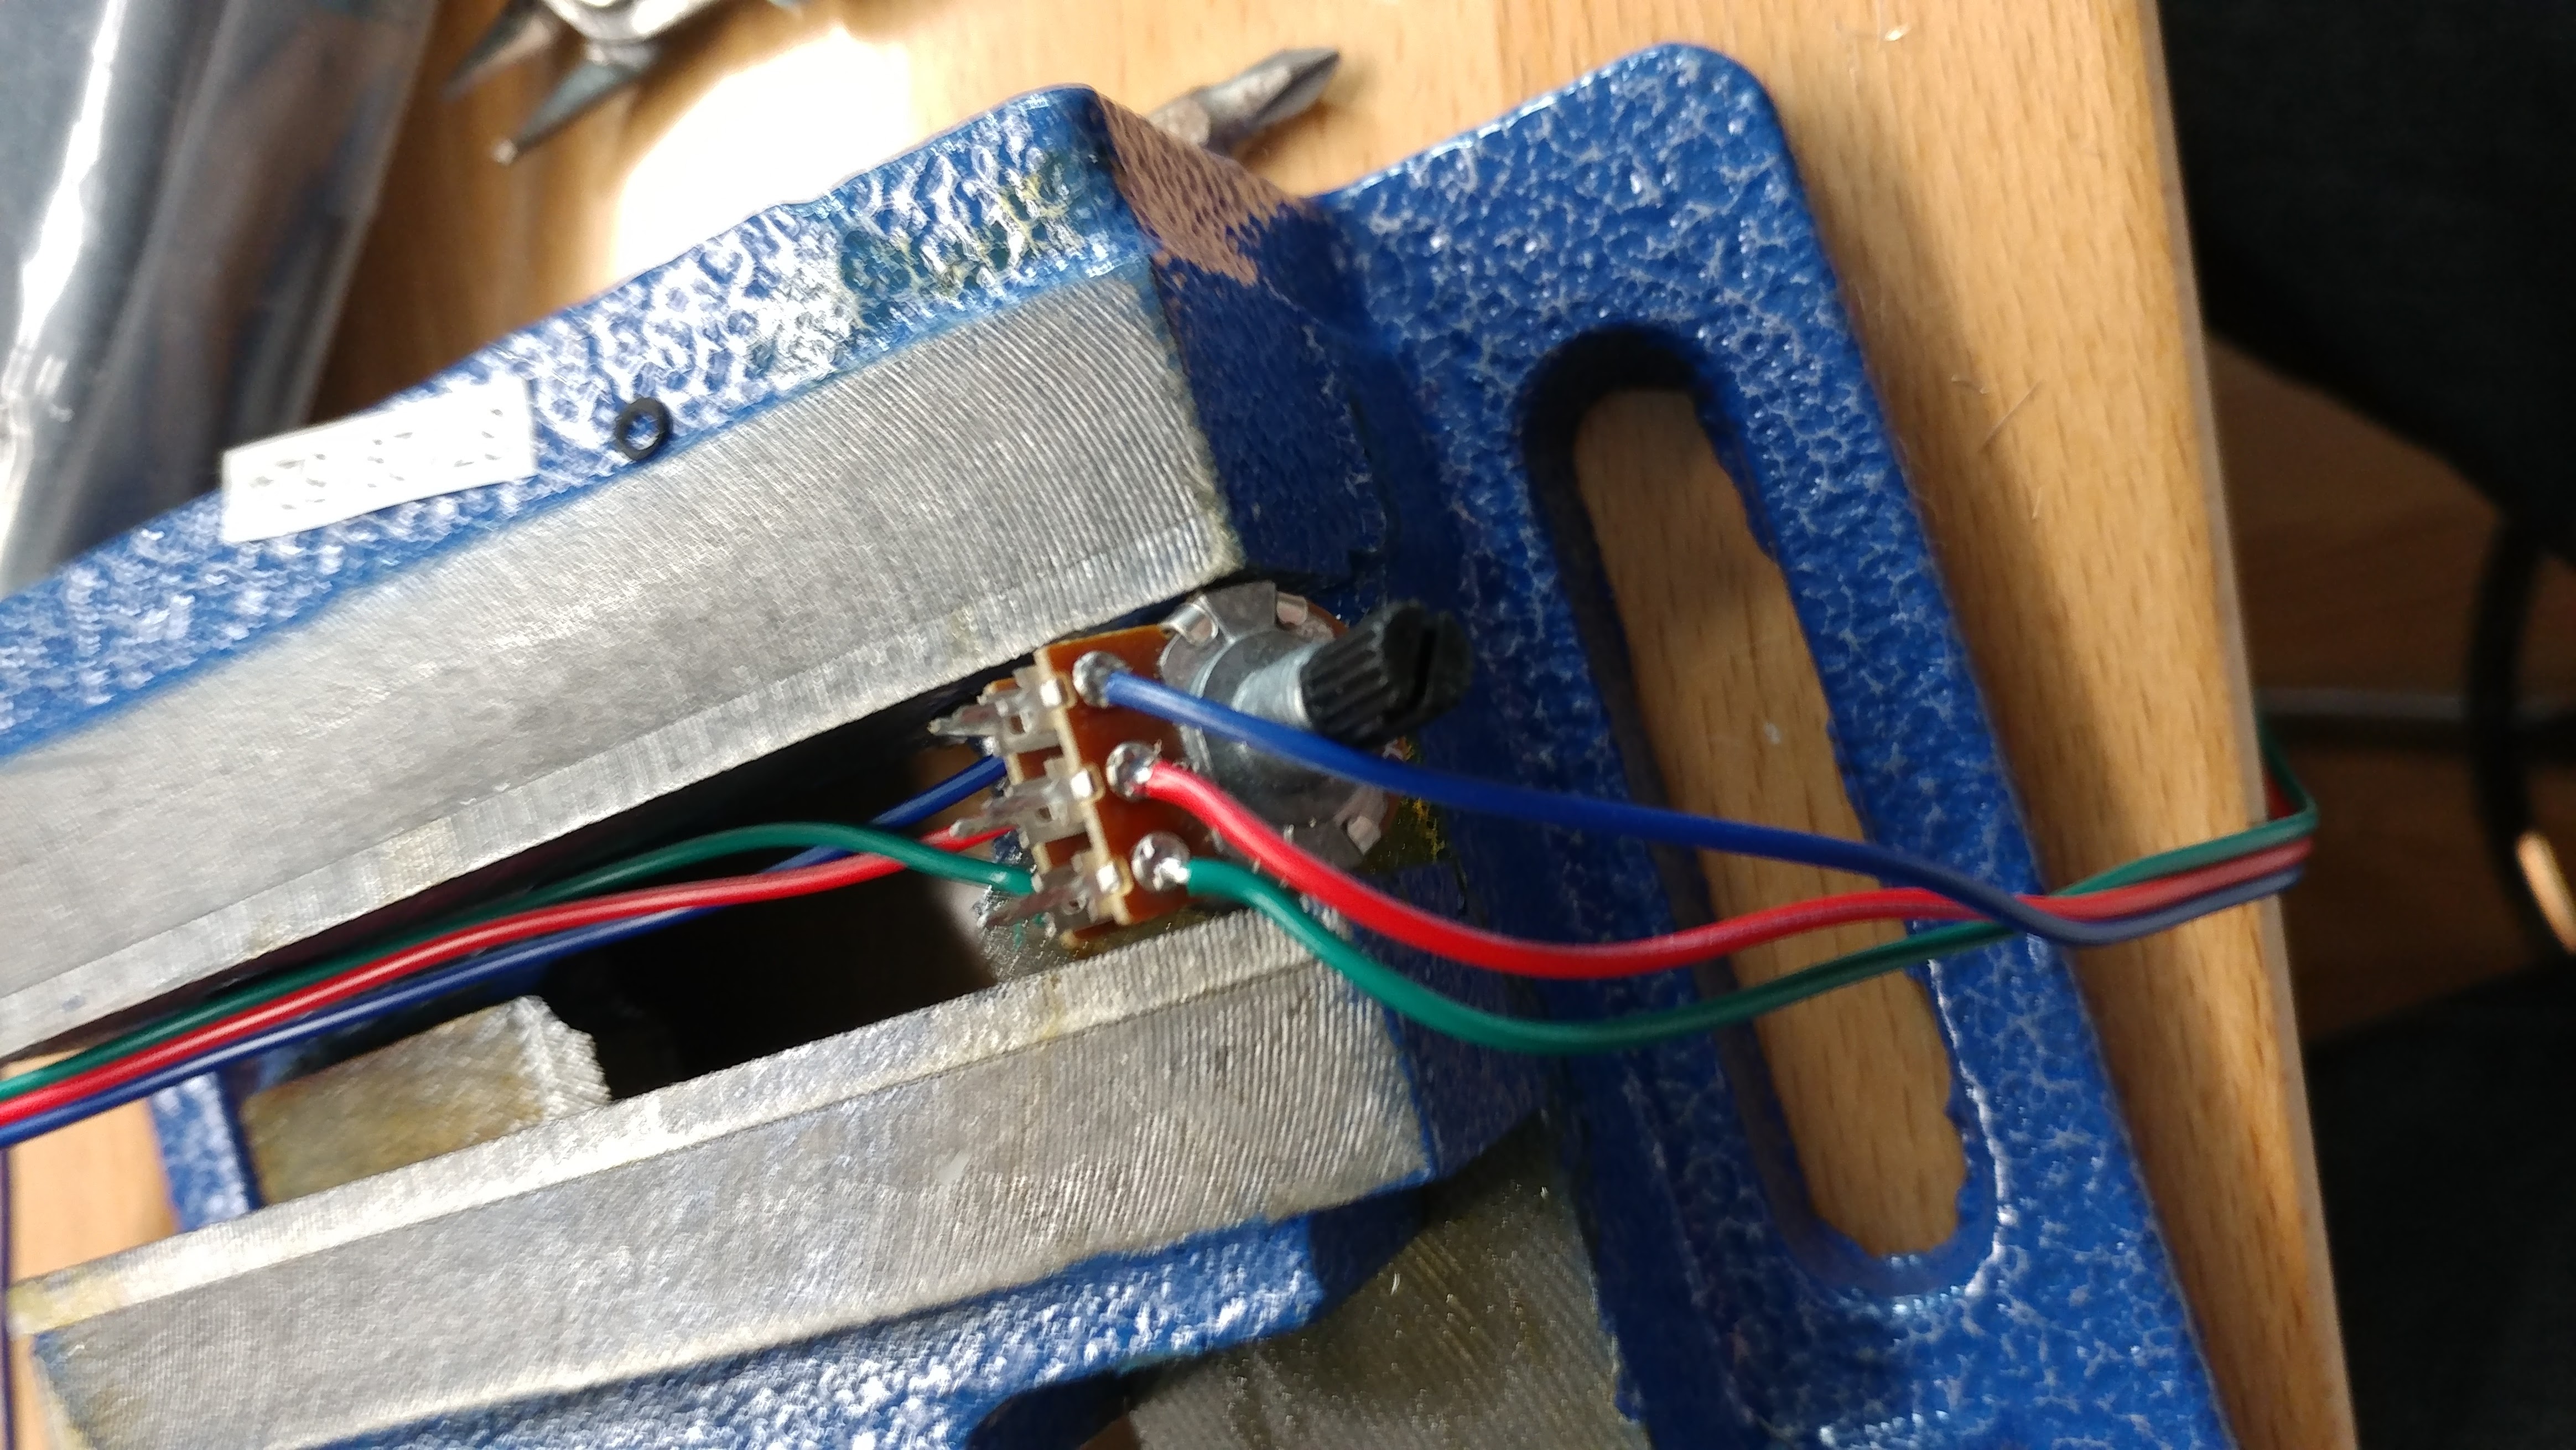
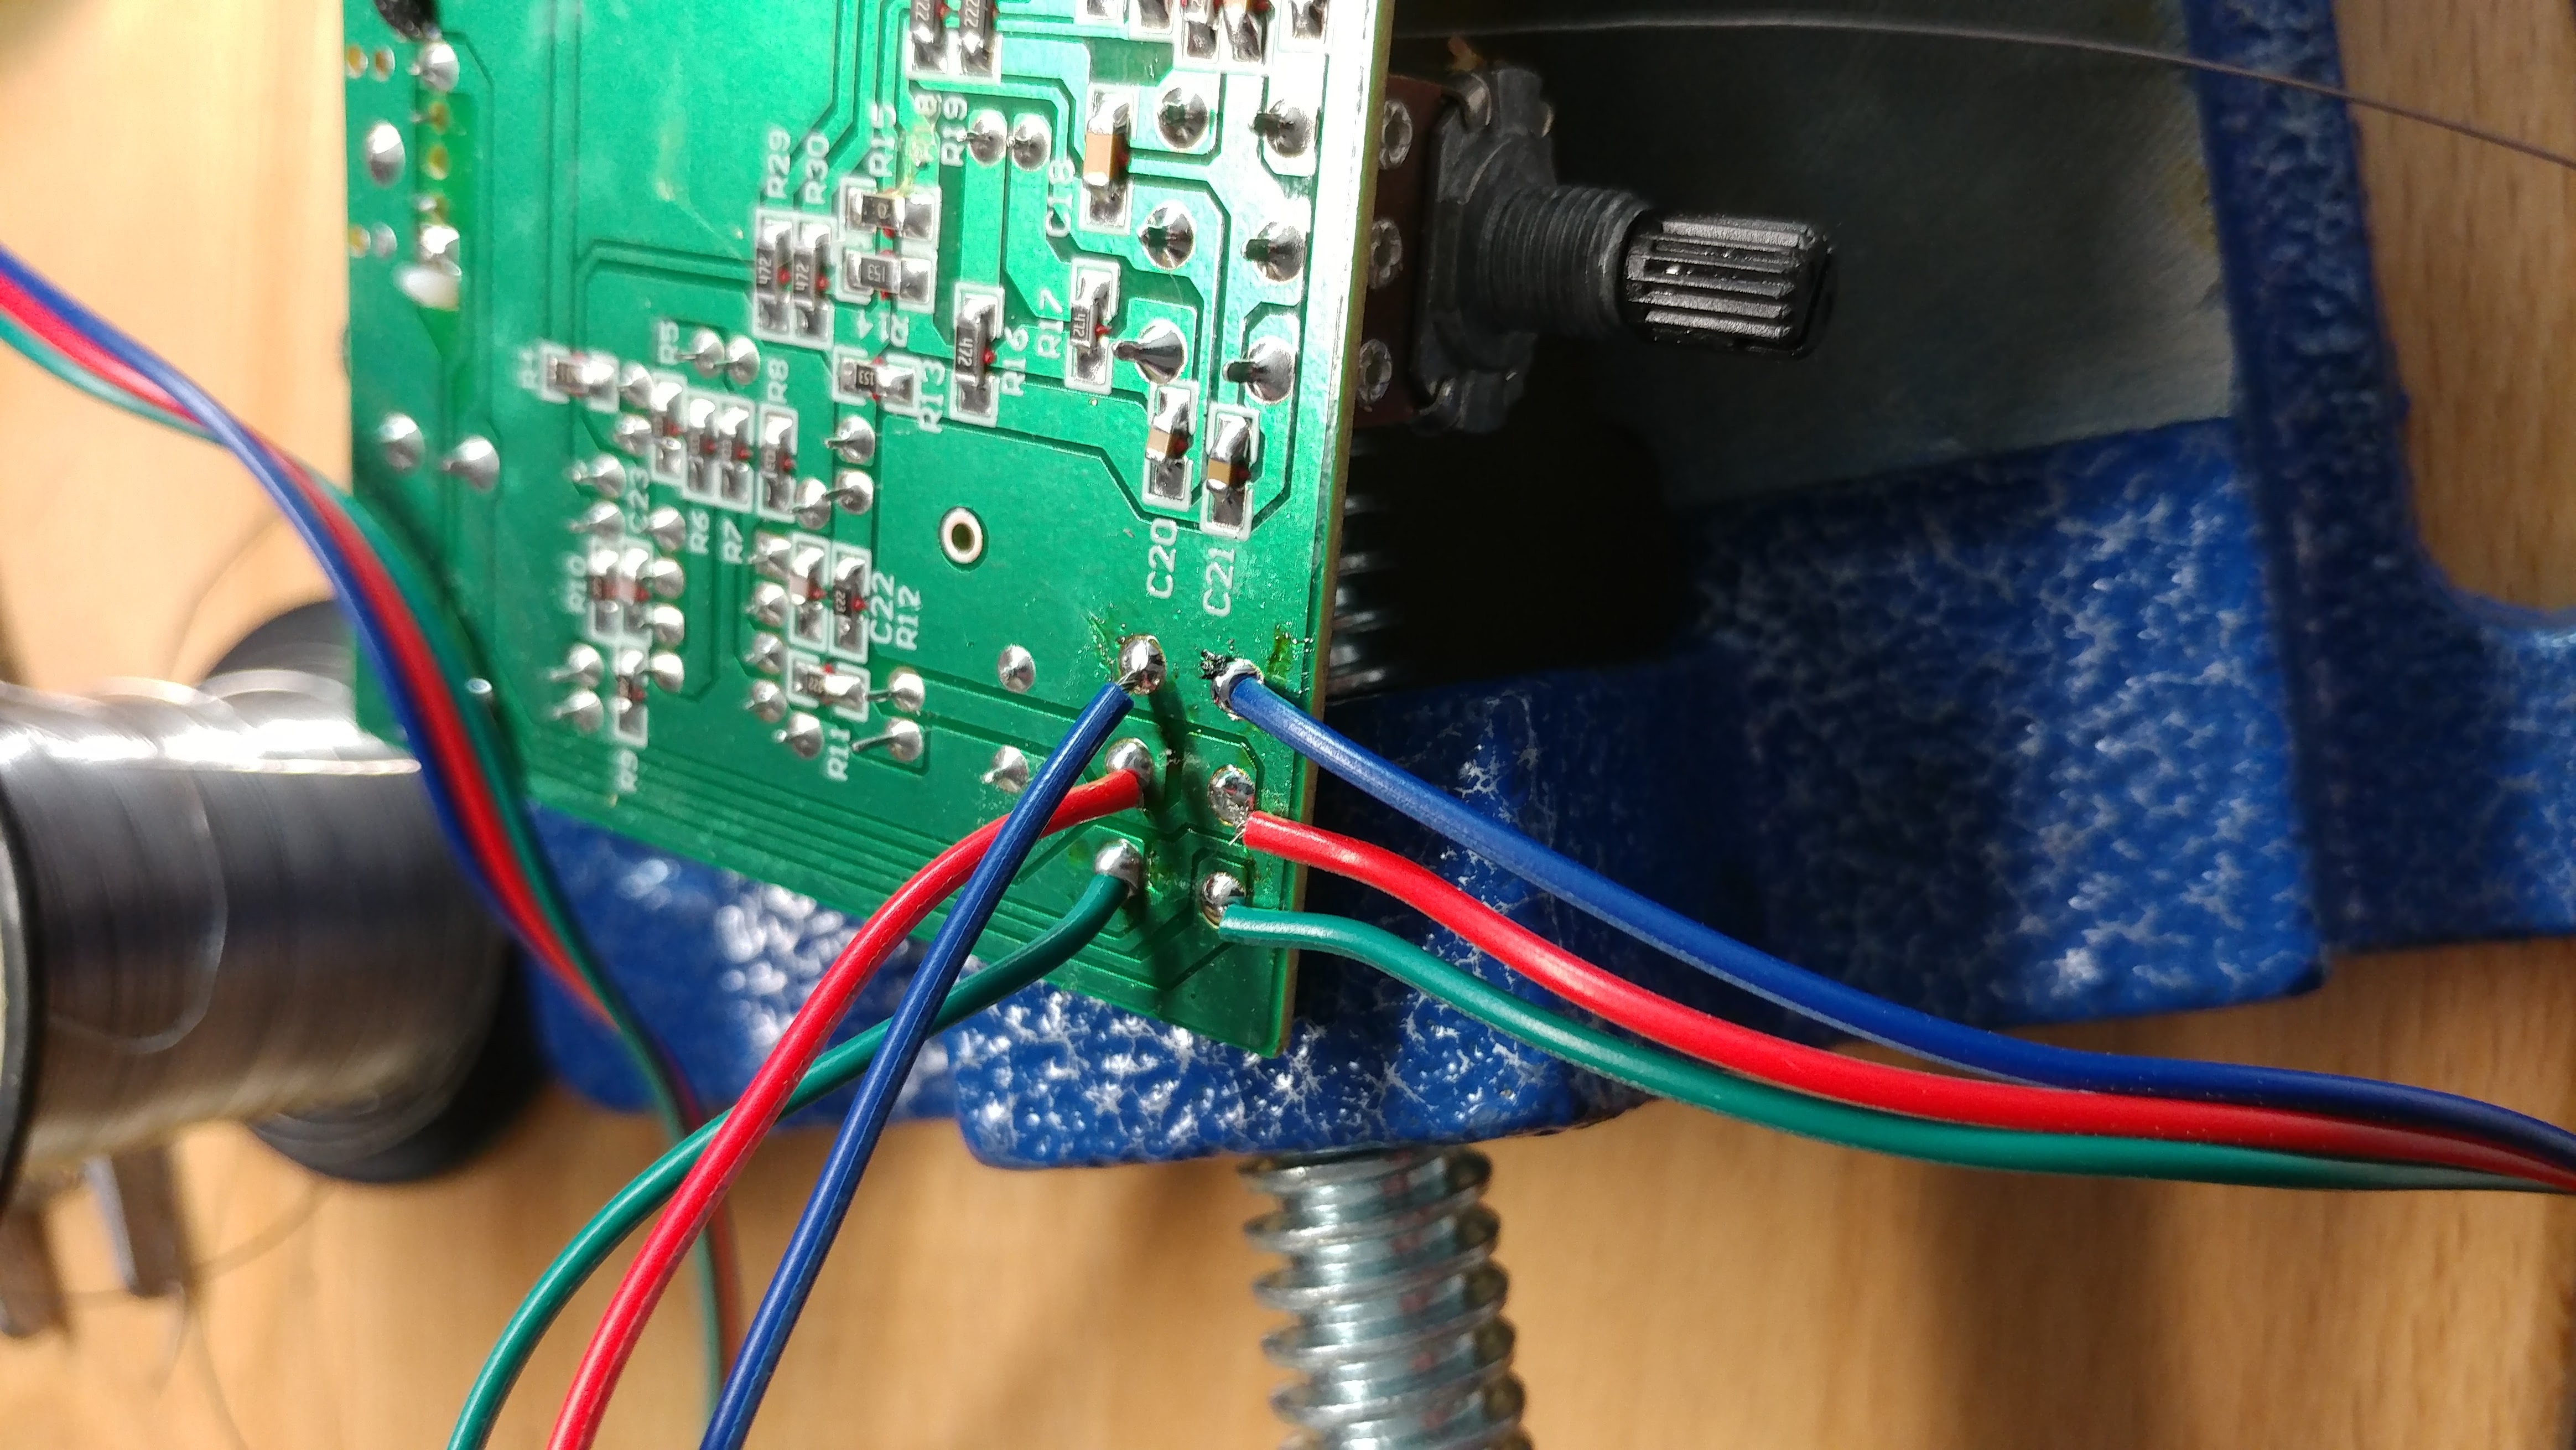
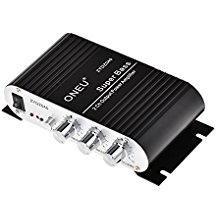
The audio was a key part to the build because I wanted to be able to control the volume. So I figured if I purchased an Amplifier wired up a potentiometer I could place the volume knob where ever I wanted. It actually worked out to easy and sounds amazing I’m happy I spent all of the money on good speakers and good hardware it paid off in the end. So basically I took apart the amplifier, desoldered the volume potentiometer and ran wires to the bottom of the cab. I also had to use an external usb device more info here.
ONEU Mini amplifier Super Bass Hi-Fi Stereo Audio Amp Booster for Car Moto Home with DC 12V 3A Power Supply, Black
Purchased on: Amazon
Price: $19.99
RCA Cable, iXCC 6ft Dual Shielded Gold-Plated 3.5mm Male to 2RCA Male Stereo Audio Y Cable
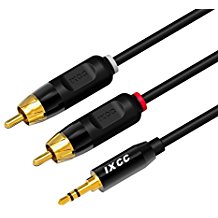
Purchased on: Amazon
Price: $7.99
Rockford Fosgate R14X2 R14X2
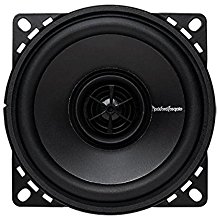
Purchased on: Amazon
Price: $27.49
Plugable USB Audio Adapter with 3.5mm Speaker/Headphone and Microphone Jacks
More information on how to install this here.
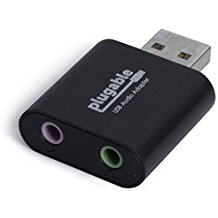
Purchased on: Amazon
Price: $7.79
2-pack 500KOhm Long-Shaft Guitar Volume Potentiometers (Pots) – Audio-Taper

Purchased On: Amazon
Price: $6.99
YMC Chrome-Dome-Knob-4pc 4 Pieces Chrome Brass Dome Knob for Etc Guitar or Bass
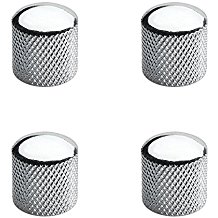
Purchased On: Amazon
Price: $6.31
This totally was not necessary however I thought it added so much character to the bar-top arcade. Throughout all the builds I looked at I didn’t see one build with any type of cooling. I did some google and amazon searches and found this product. Plugged it into the power strip and it works perfect.

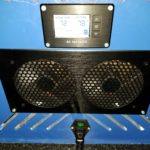
AC Infinity AIRPLATE T7, Quiet Cooling Fan System with Thermostat Control, for Home Theater AV Cabinets
Purchased on: Amazon
Price: $59.99
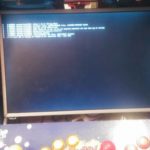
The display work was the hardest part of getting the bartop arcade completed. At first it was hard to figure out how we were going to mount the monitor on the inside. I should have left it inside the case and just left it as that however since we already disassembled everything we had to get a piece of plexi-glass (purchased from Homedepot or Lowes) on the top and we used pieces of vinyl around the bezel. For some reason when display turned on. You would have to press a button to exit out of the display menu. I noticed however if I held down one of the buttons it would bypass this. So I soldered all (4) legs of the toggle button which bypassed the menu.
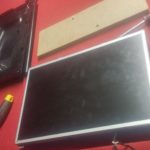
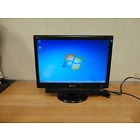
GATEWAY TFT19W80PS+ 19″ WideScreen LCD Monitor Black w/Speaker Bar & VGA Cable
Since I knew my pre-cut MDF board would hold a 19″ screen I found a nice LCD screen on eBay for cheap. I actually removed the entire enclosure of the screen then placed a piece of wood over the back and inserted screws through the mounting hardware of the screen.
Purchased on: eBay
Price: $34.00
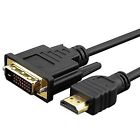
Premium 10Ft. HDMI Male to DVI-D 24+1 Male Gold Adapter Cable HDTV LED LCD Cord
Purchased on: Amazon
Price: $8.89
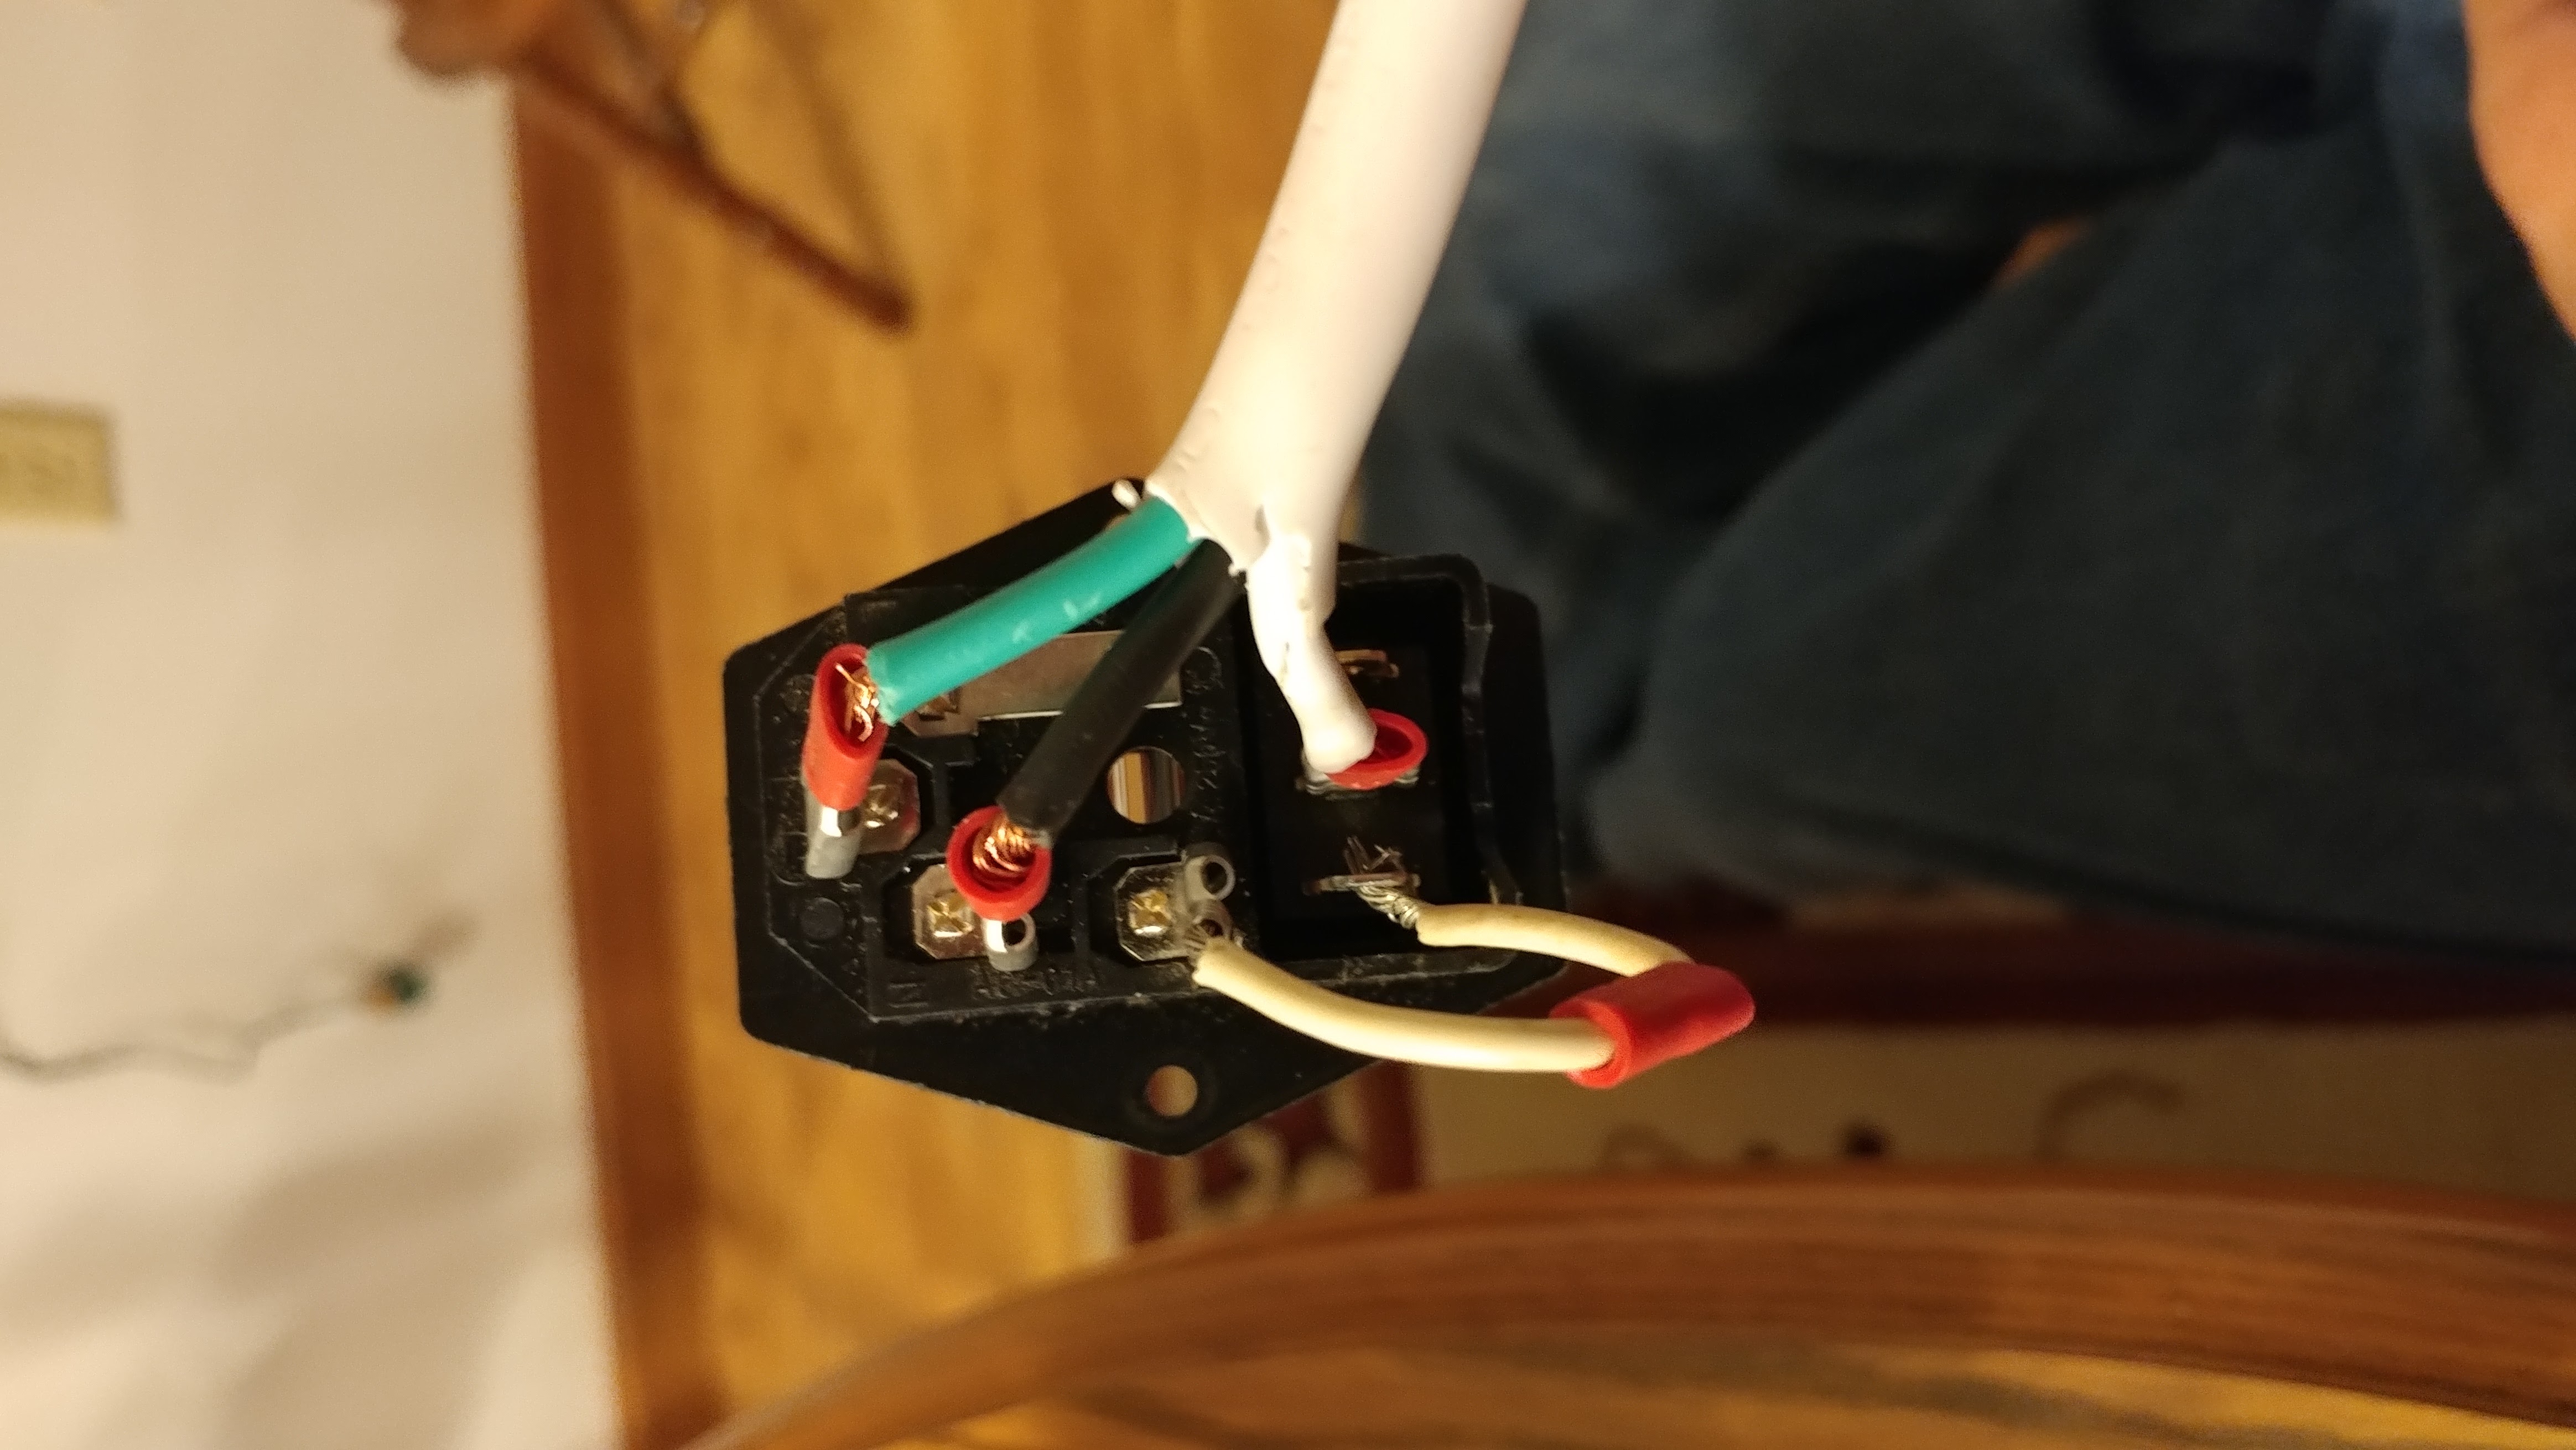
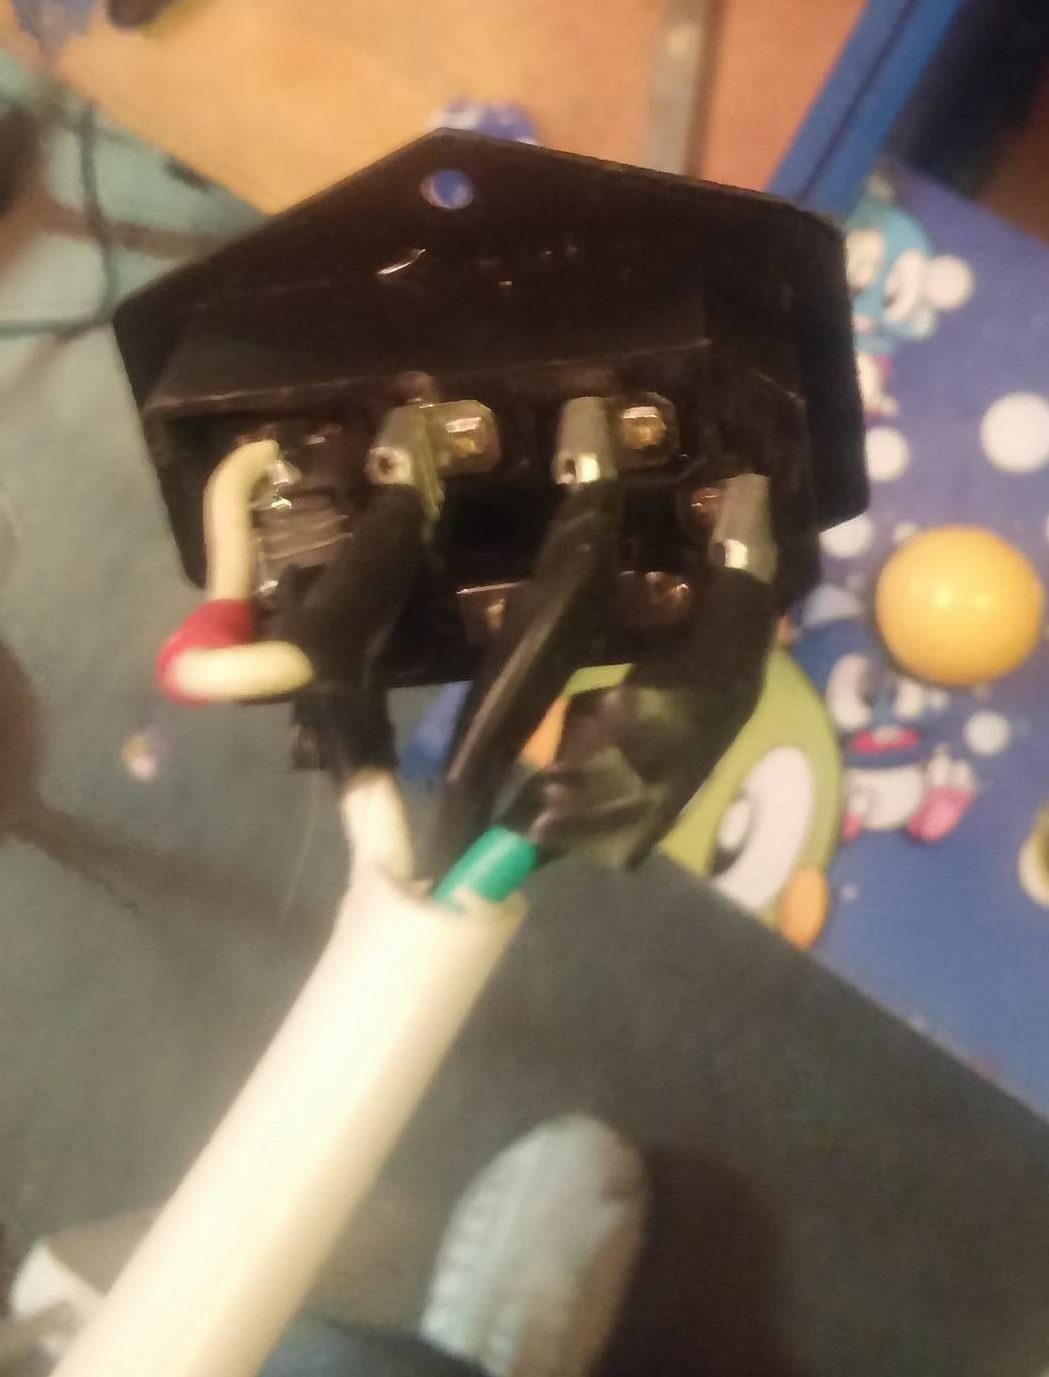
Powering the device was easy I knew I needed a big power strip and a rocker switch so the machine turns on everything with the flip of a switch. Wiring the rocker switch was a little difficult there actually wasn’t that much information available since it was an eBay auction. However I did figure out the correct pin out.

C2G / Cables To Go 14719 18 AWG Universal Power Cord for NEMA 5-15P to IEC320C13, Black (25 Feet/7.62 Meters)
I wanted a long cord especially for testing and getting everything setup so I could virtually plug this thing anywhere in the house and no one would trip over the cord.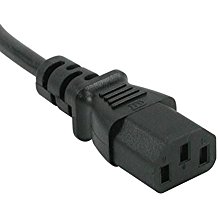
Purchase On: Amazon
Price: $12.62
1x Green LED Rocker Switch Fuse Holder IEC320 C14 Inlet Power Socket AC250V 10A
Make sure you put the fuse in the one I purchased actually didn’t come with the fuse installed which caused some minor headaches.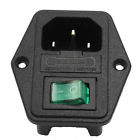
Purchase On: eBay
Price: $6.99
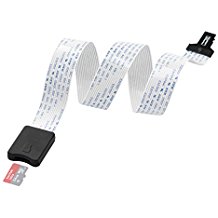
This came in handy so much, since I was constantly making changes to my SD-Card and apply different images and different tests to the card it was much faster to edit the card then to make my changes via WiFi and FTP. This cord would fit perfectly into the RaspberryPi 3 and I had it hanging out the back until the image was finally complete. Definitely purchase one of these it will save you a lot of hassle.
Purchase On: Amazon
Price: $7.99
Eco-Fused Memory Card Carrying Case / Suitable for SDHC and SD Cards / 8 Pages and 22 Slots / Microfiber Cleaning Cloth Included (Black)
Since I was constantly switching images from Rey’s img, to HyperPie, trying to find the best one. I have a ton of SD-Cards I bought a little storage case so I could label all the different IMG’s I had.

Purchase On: Amazon
Price: $7.09
Rii Mini Wireless 2.4GHz Keyboard with Mouse Touchpad Remote Control, Black (mini X1)
This is another must have device. I purchased one of these just so I can leave it dedicated to the bartop arcade. Trust me it’s a pain in the ass when your at command line and you have to take everything apart to plug in a USB keyboard. 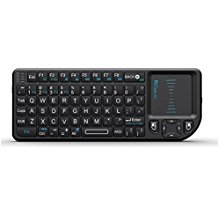
Purchase on: Amazon
Price: $16.99

