
The first thing you want to do before adding another hard drive or solid state drive to your Dell G7. Is to make sure you have the latest BIOs and updates installed.
You can download the latest updates for your Dell G7 by clicking here.
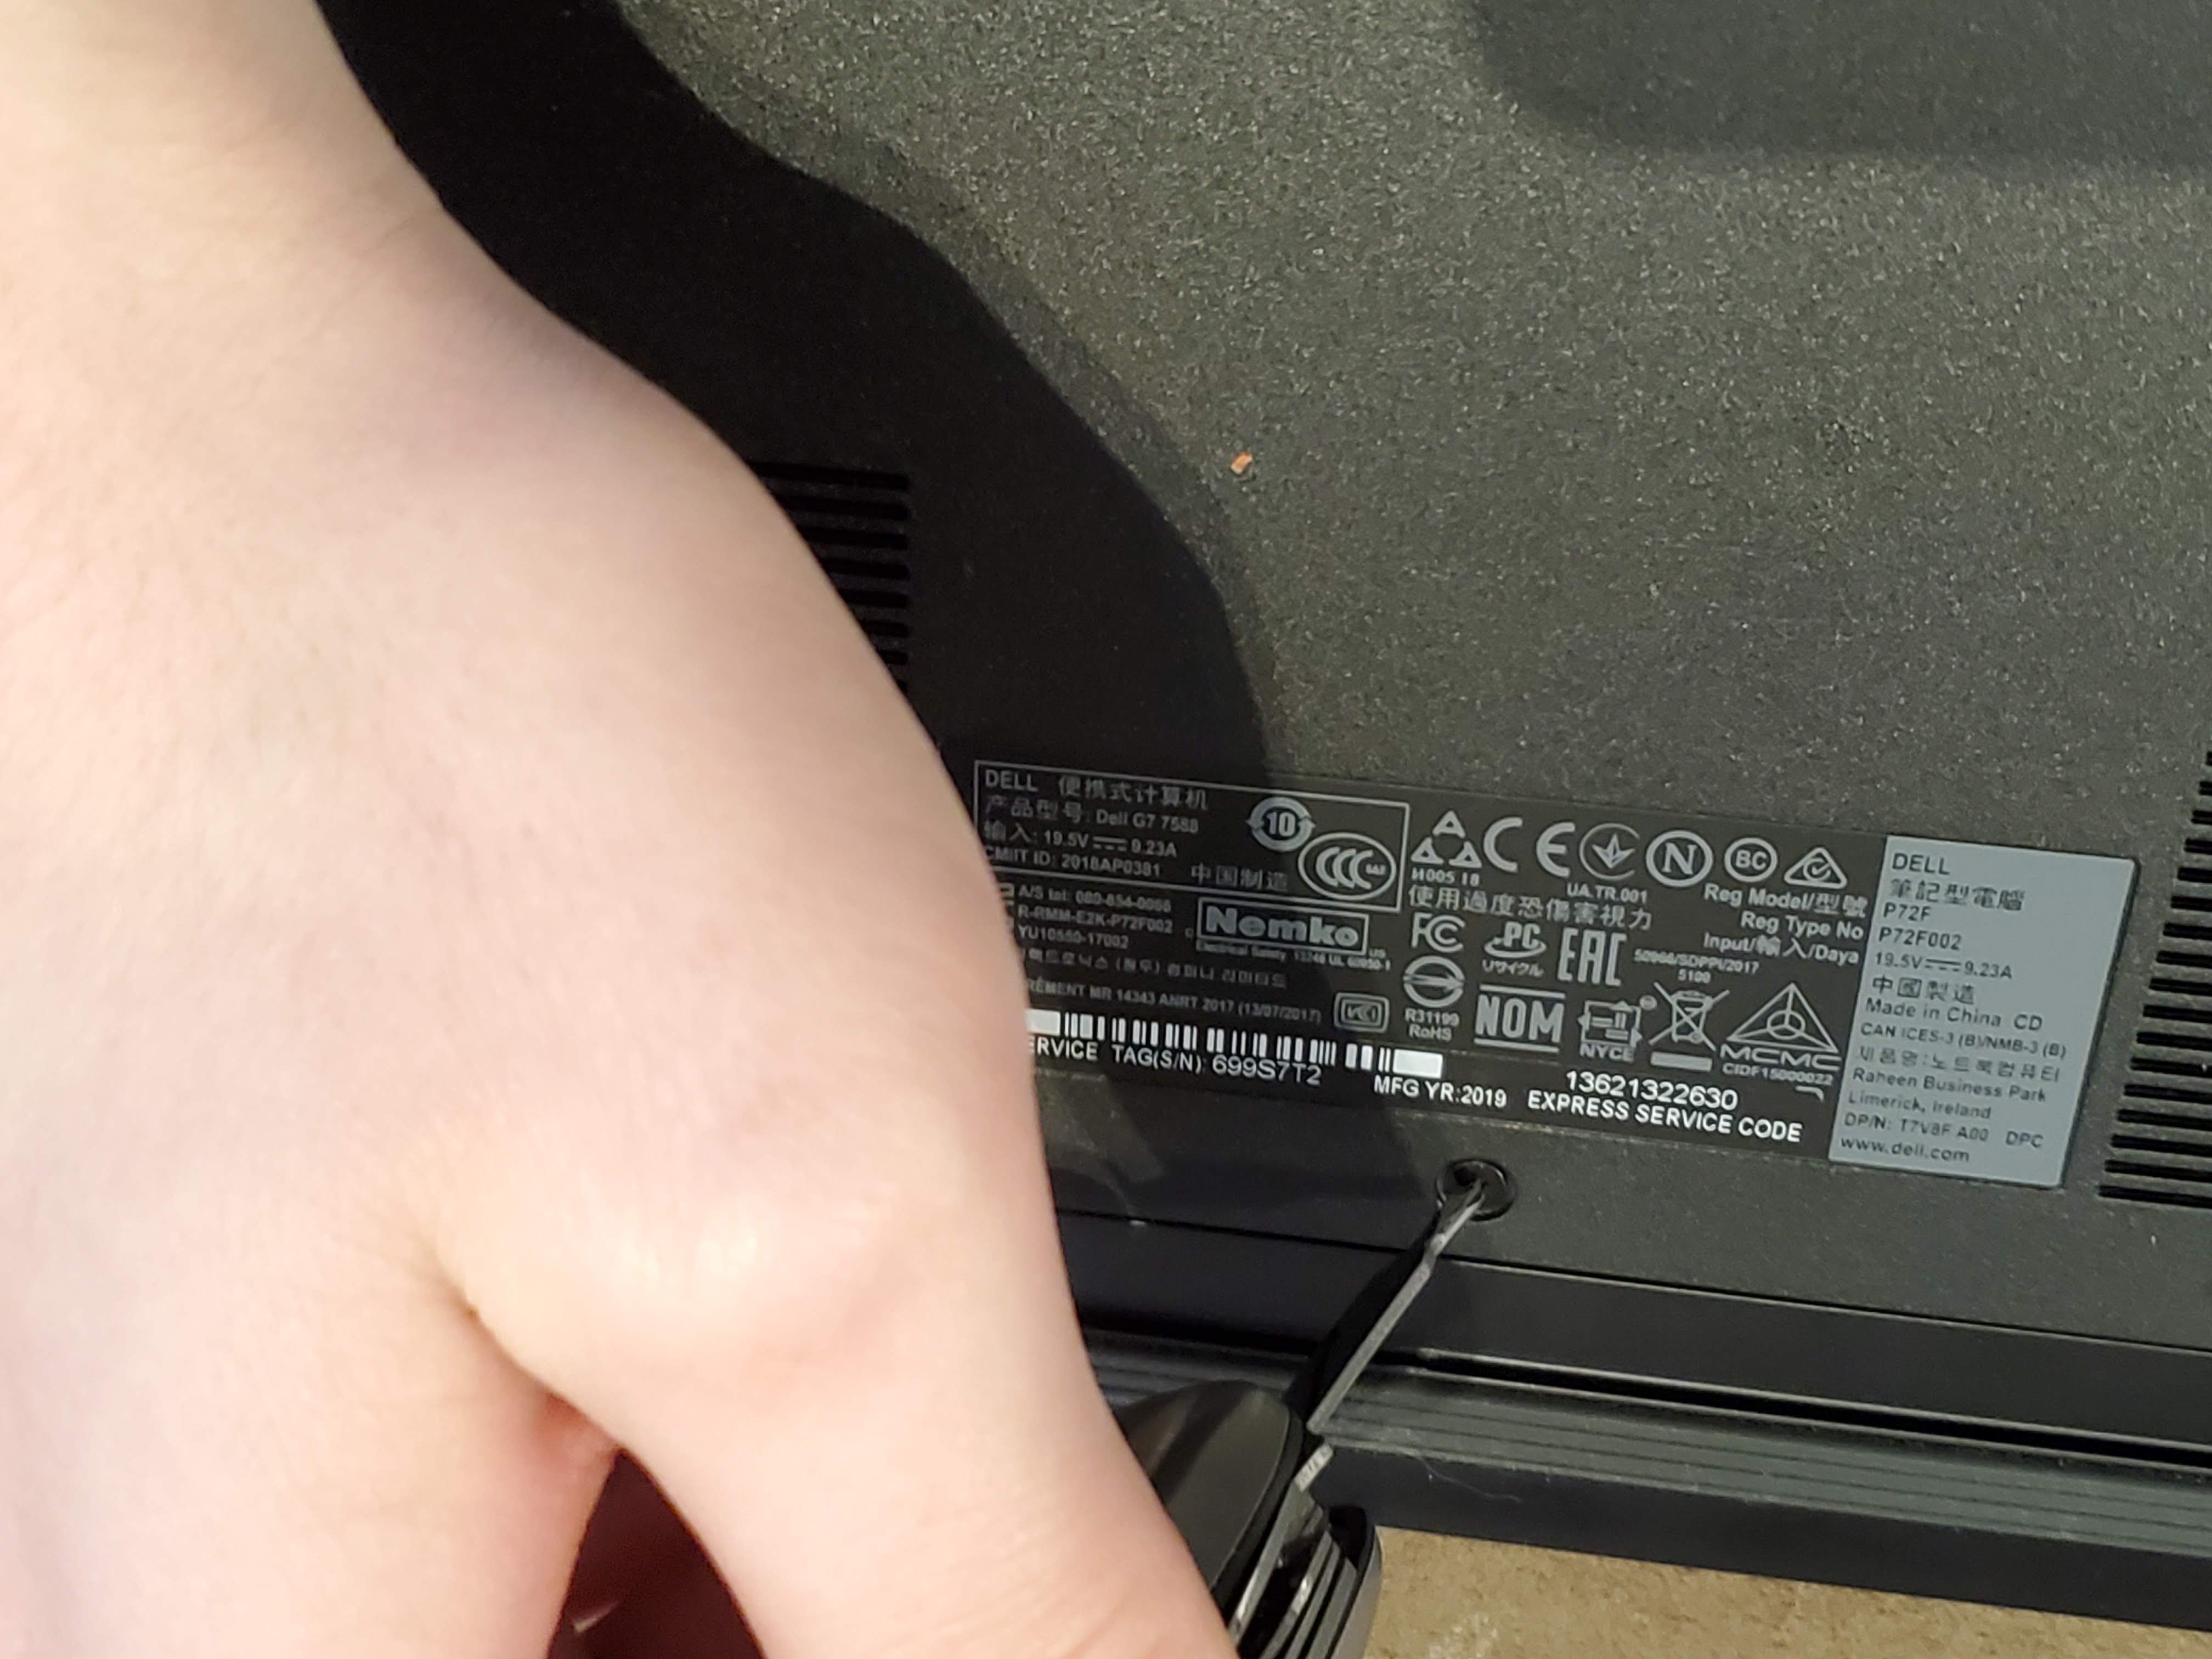
Next begin to take the bottom casing off of your Dell G7, start with the single screw (remember the screw doesn’t come all the way out).
Whenever I’m upgrading my laptops or dresktops I’m always making sure I’m putting in the latest tech. So for this build I put a Crucial MX500 2TB 3D NAND SATA 2.5 Inch Internal SSD – CT2000MX500SSD1(Z)
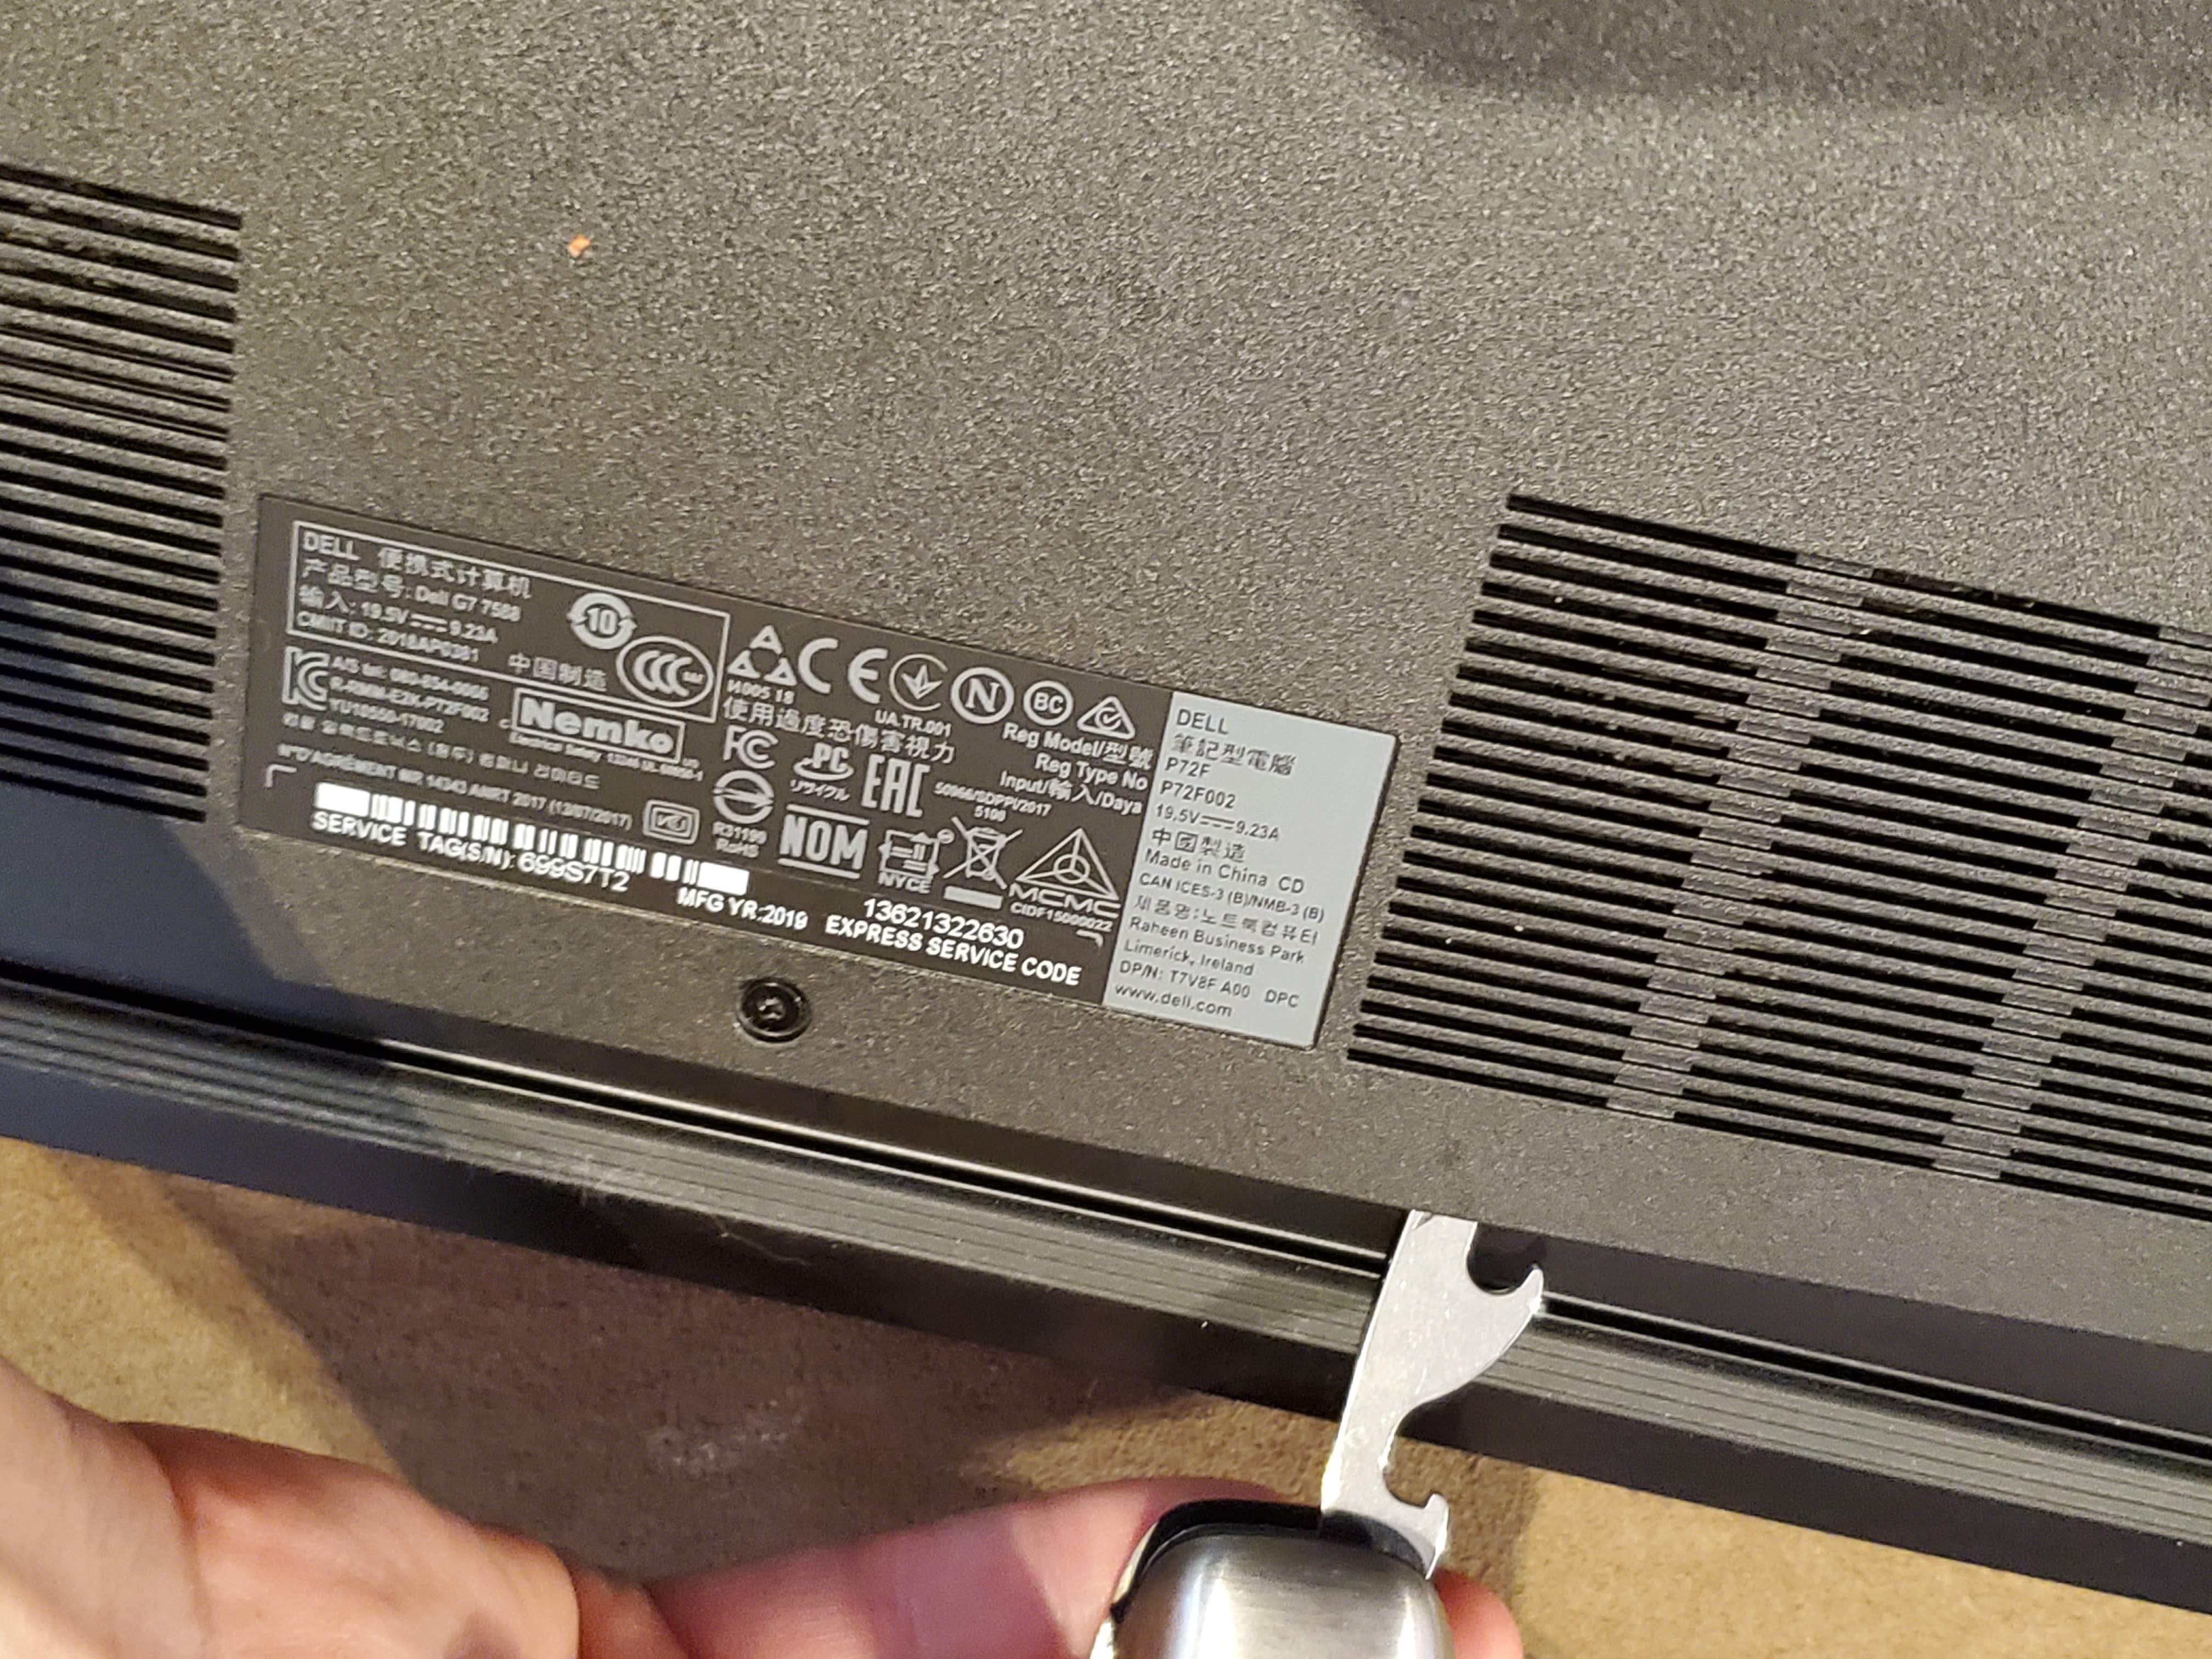
Next get something flat that you can pop up the clips around the housing of the laptop.
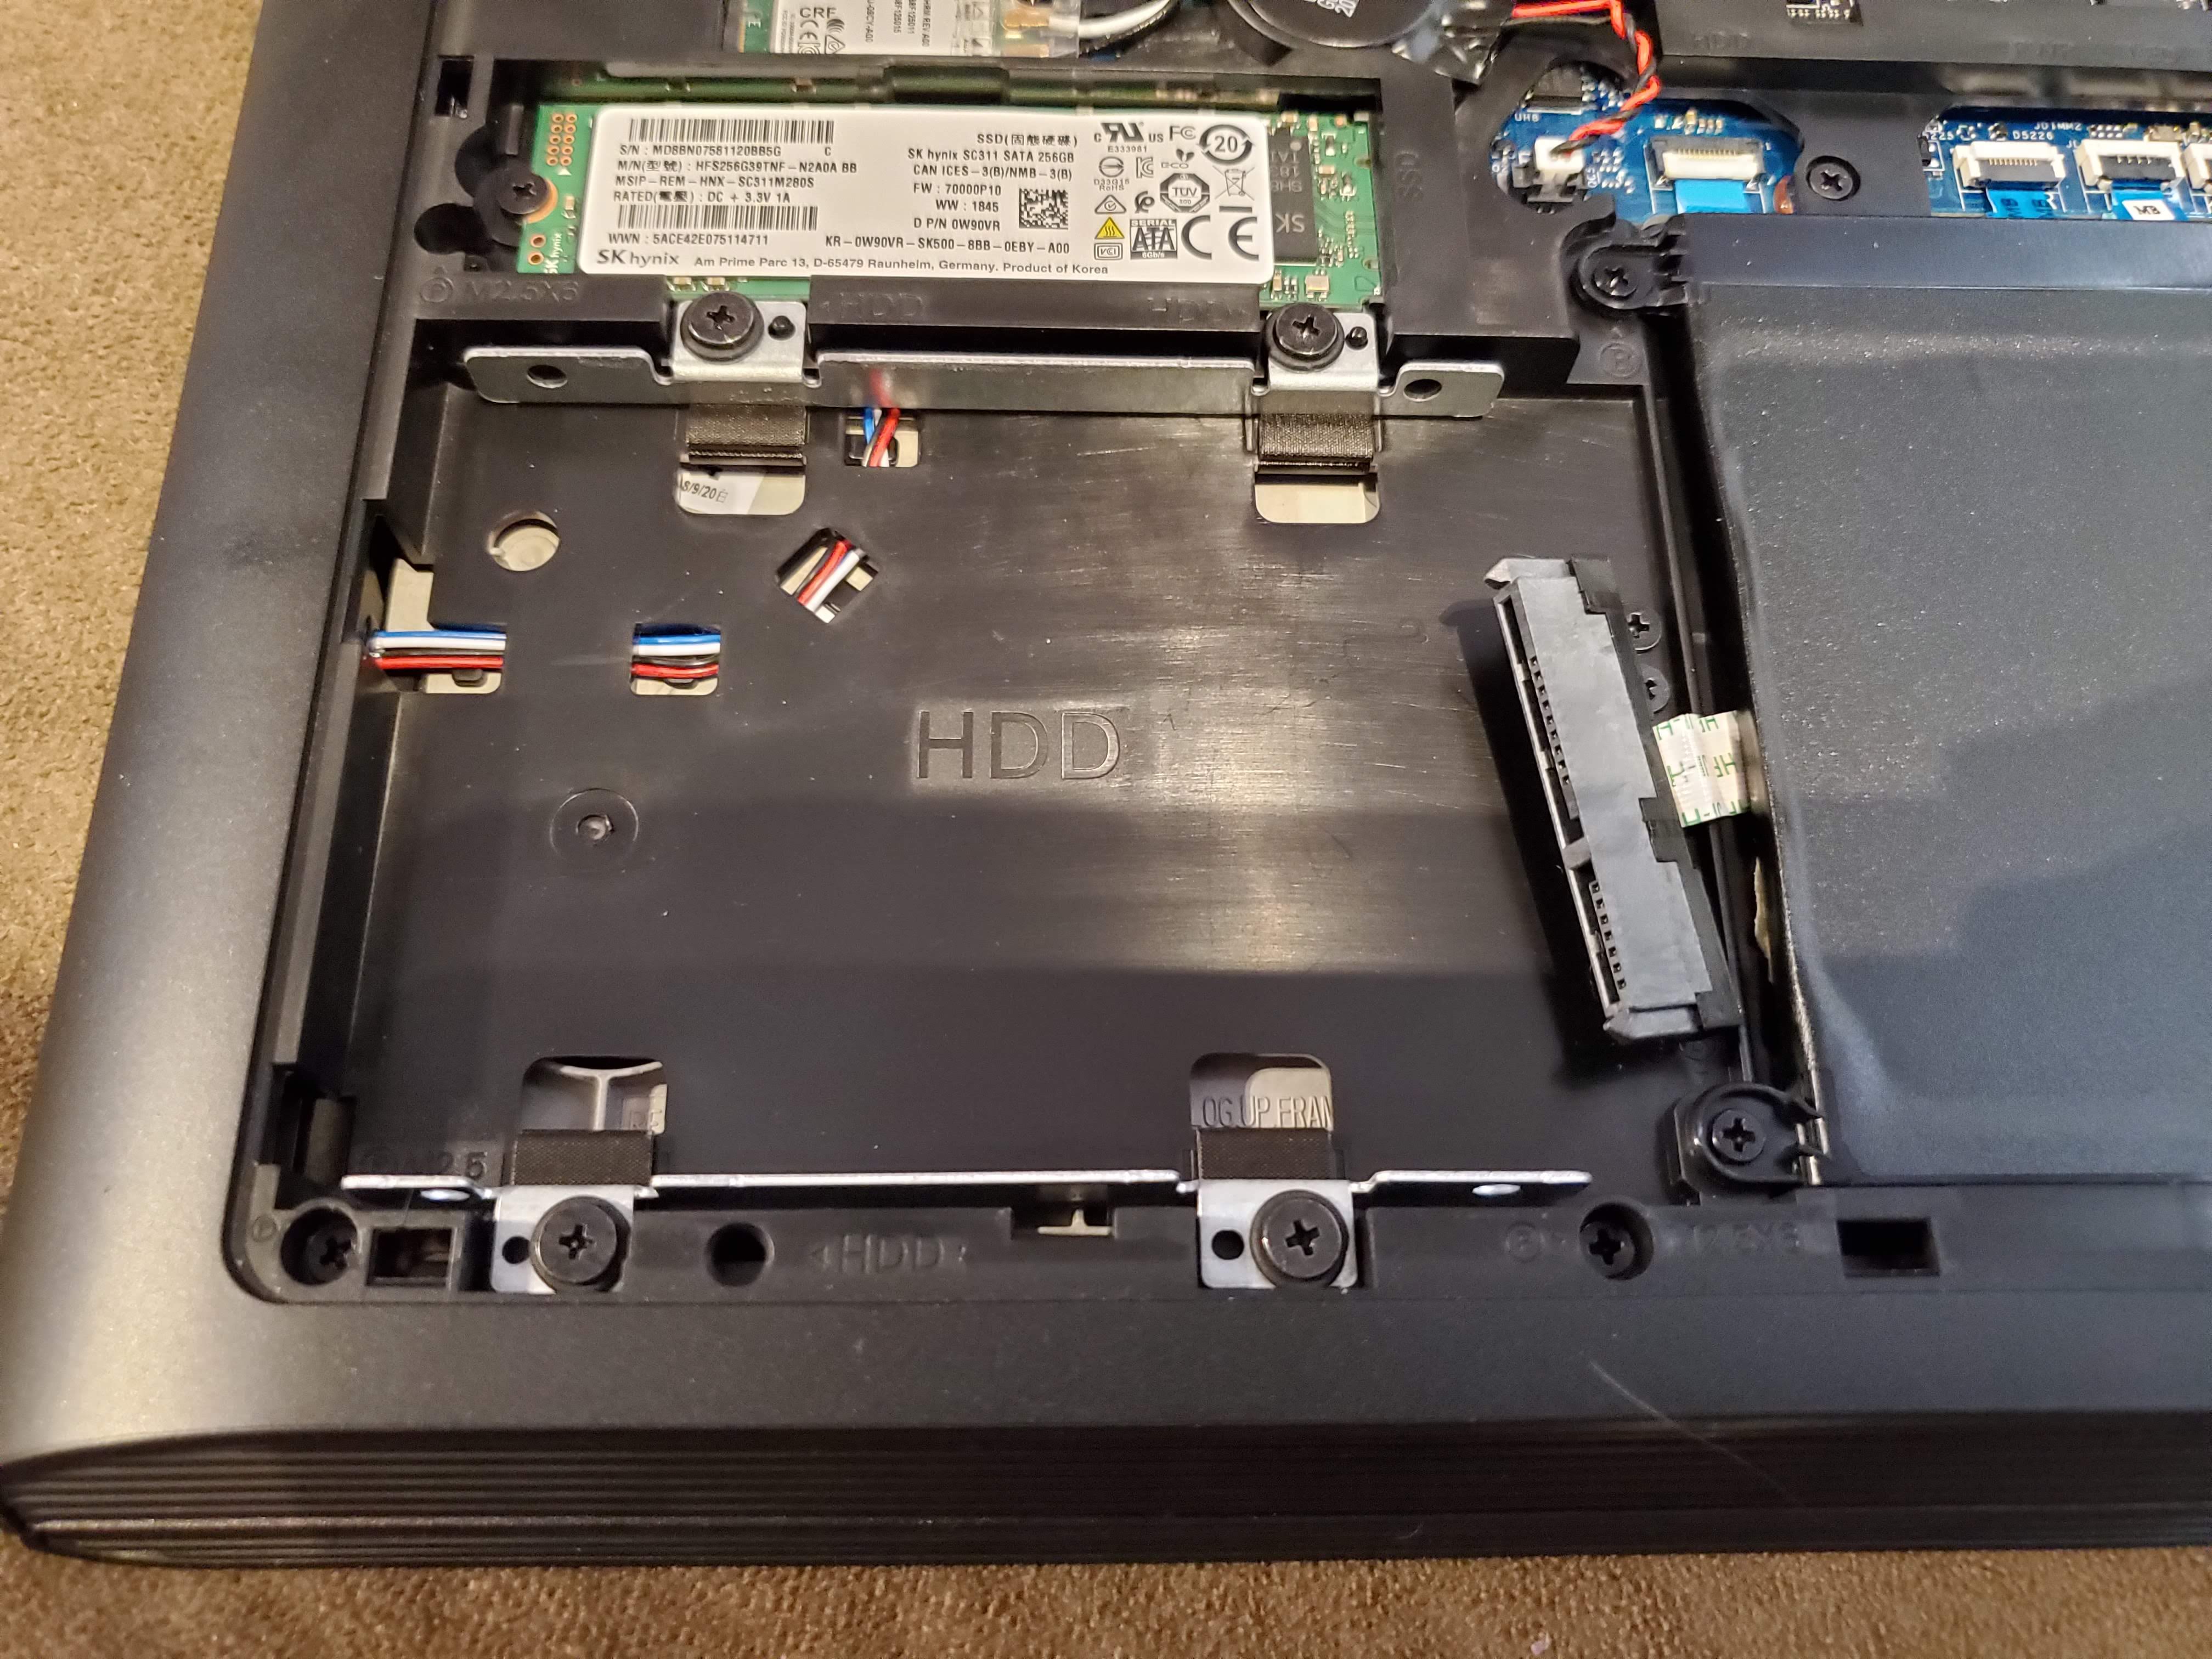
Now that the case is open, you want to take out the actual HDD enclosure.
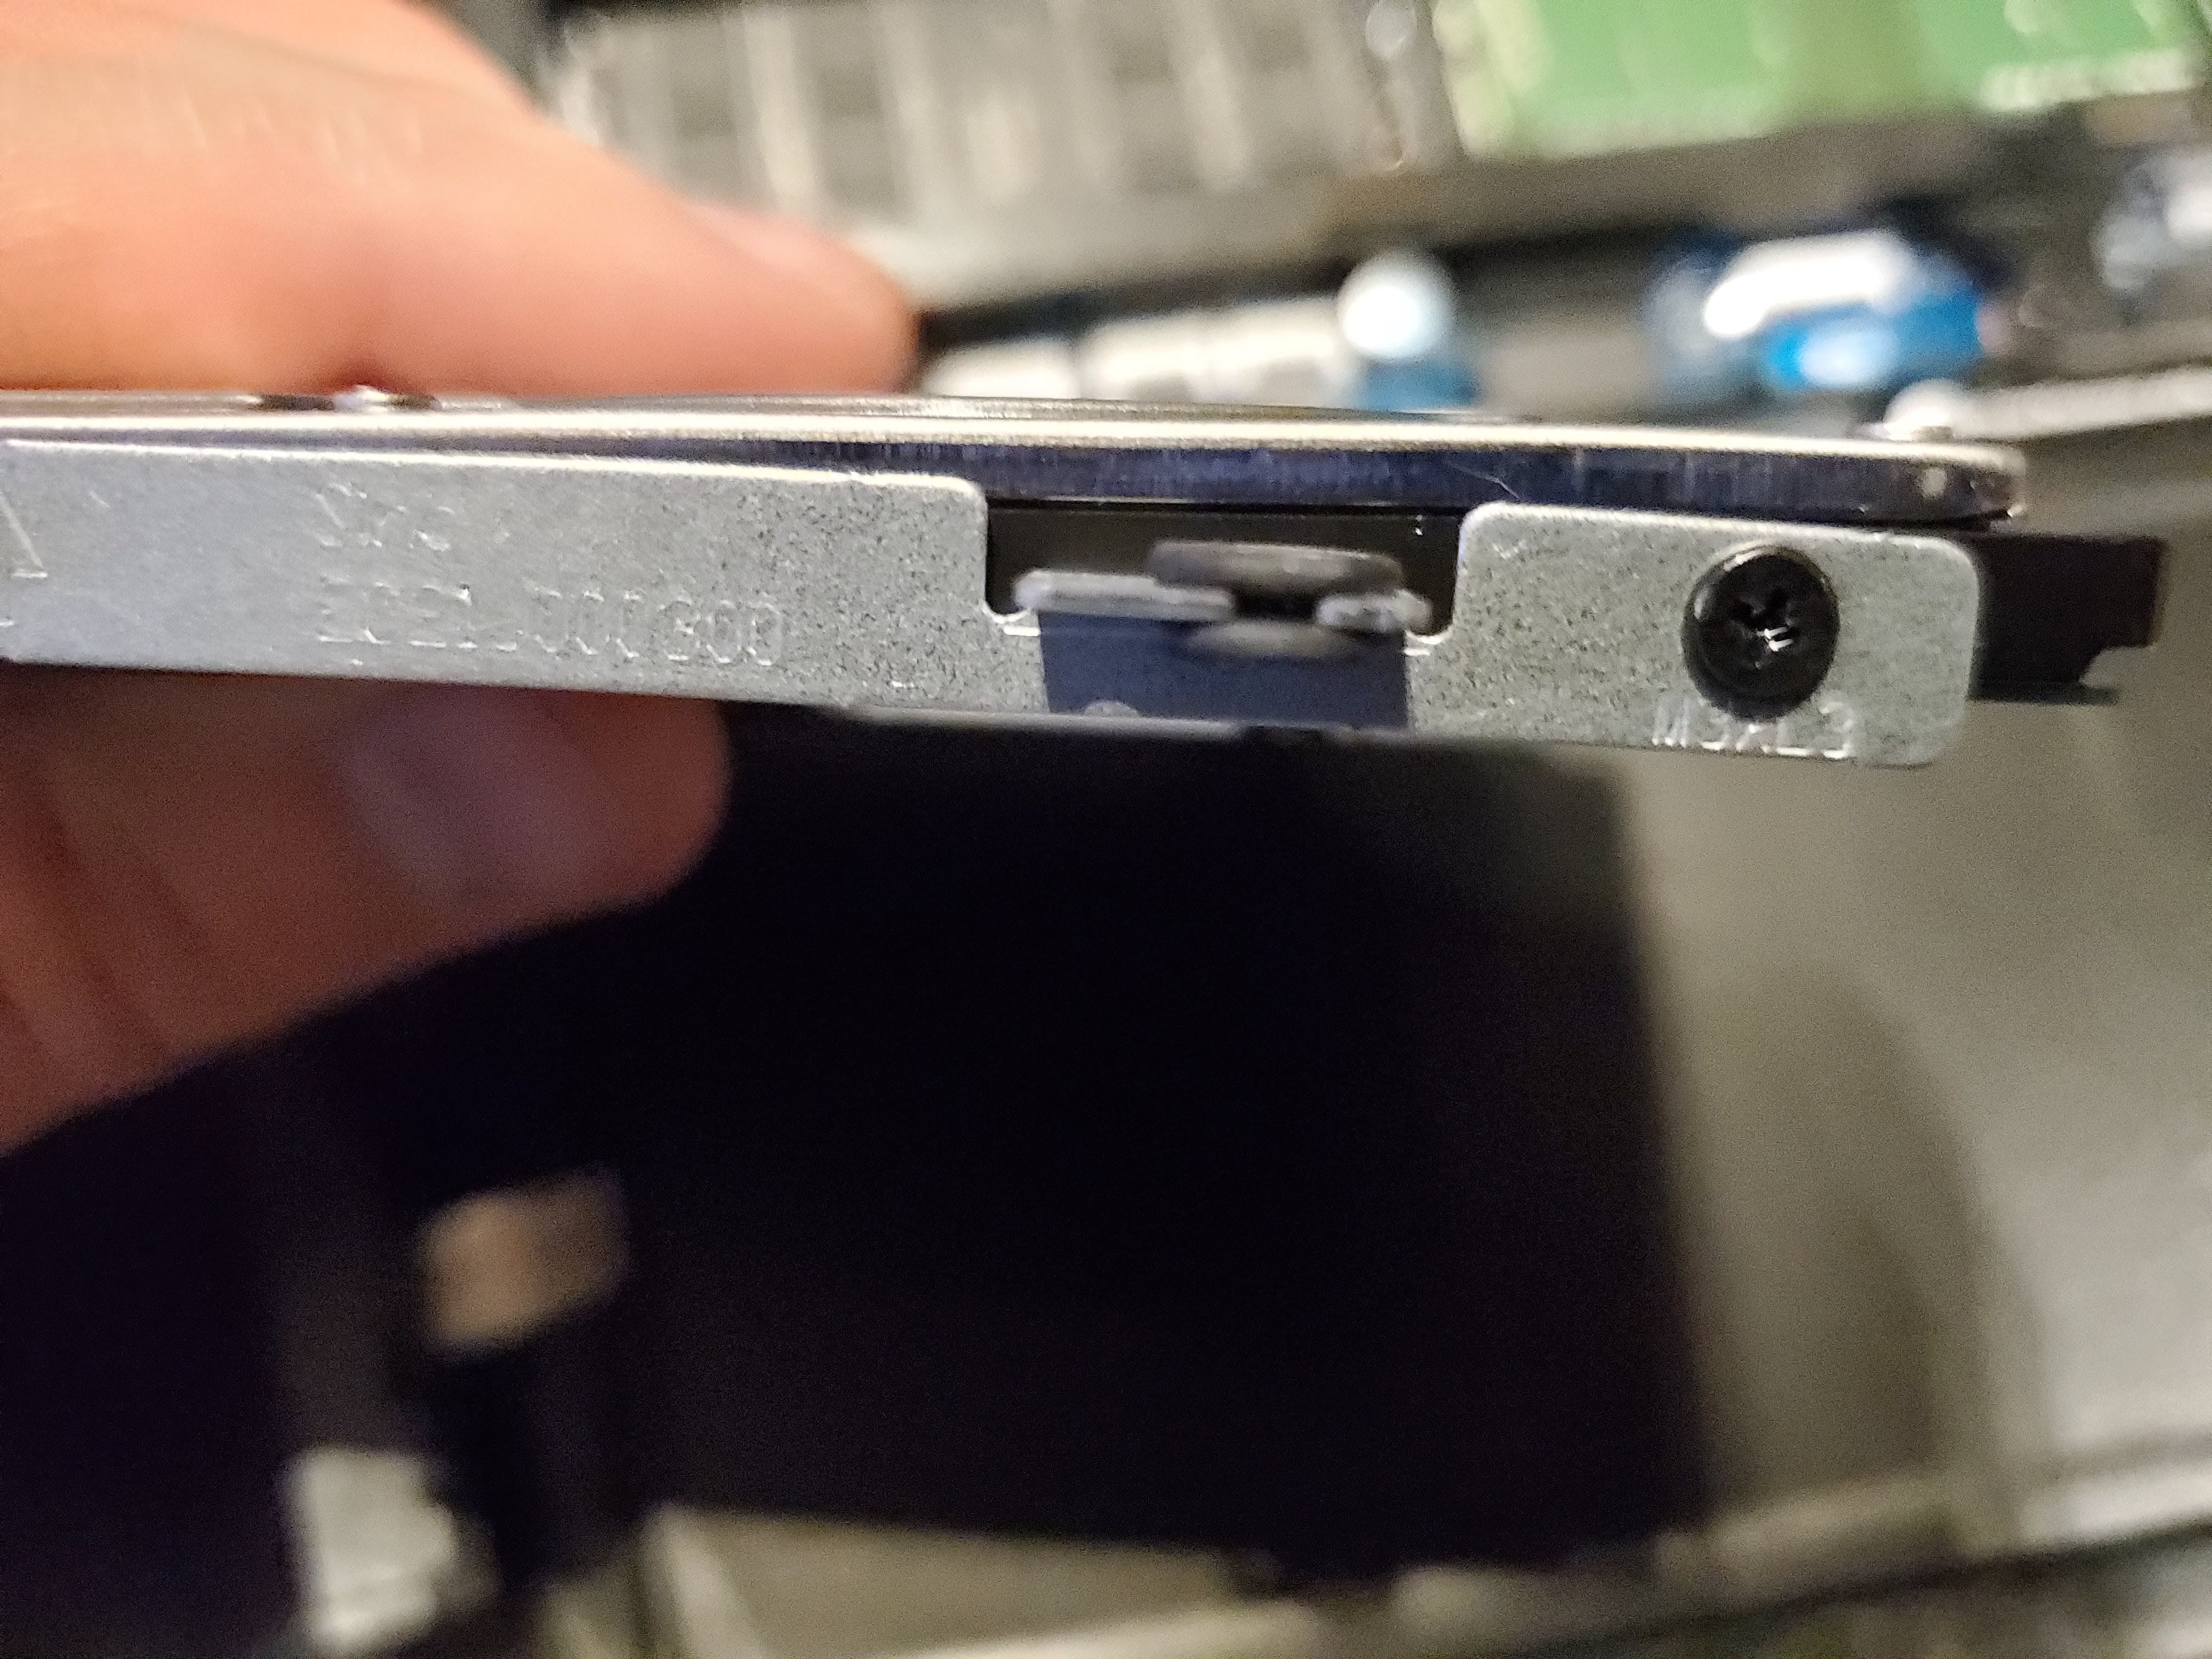
Next insert your hard drive into the enclosure.

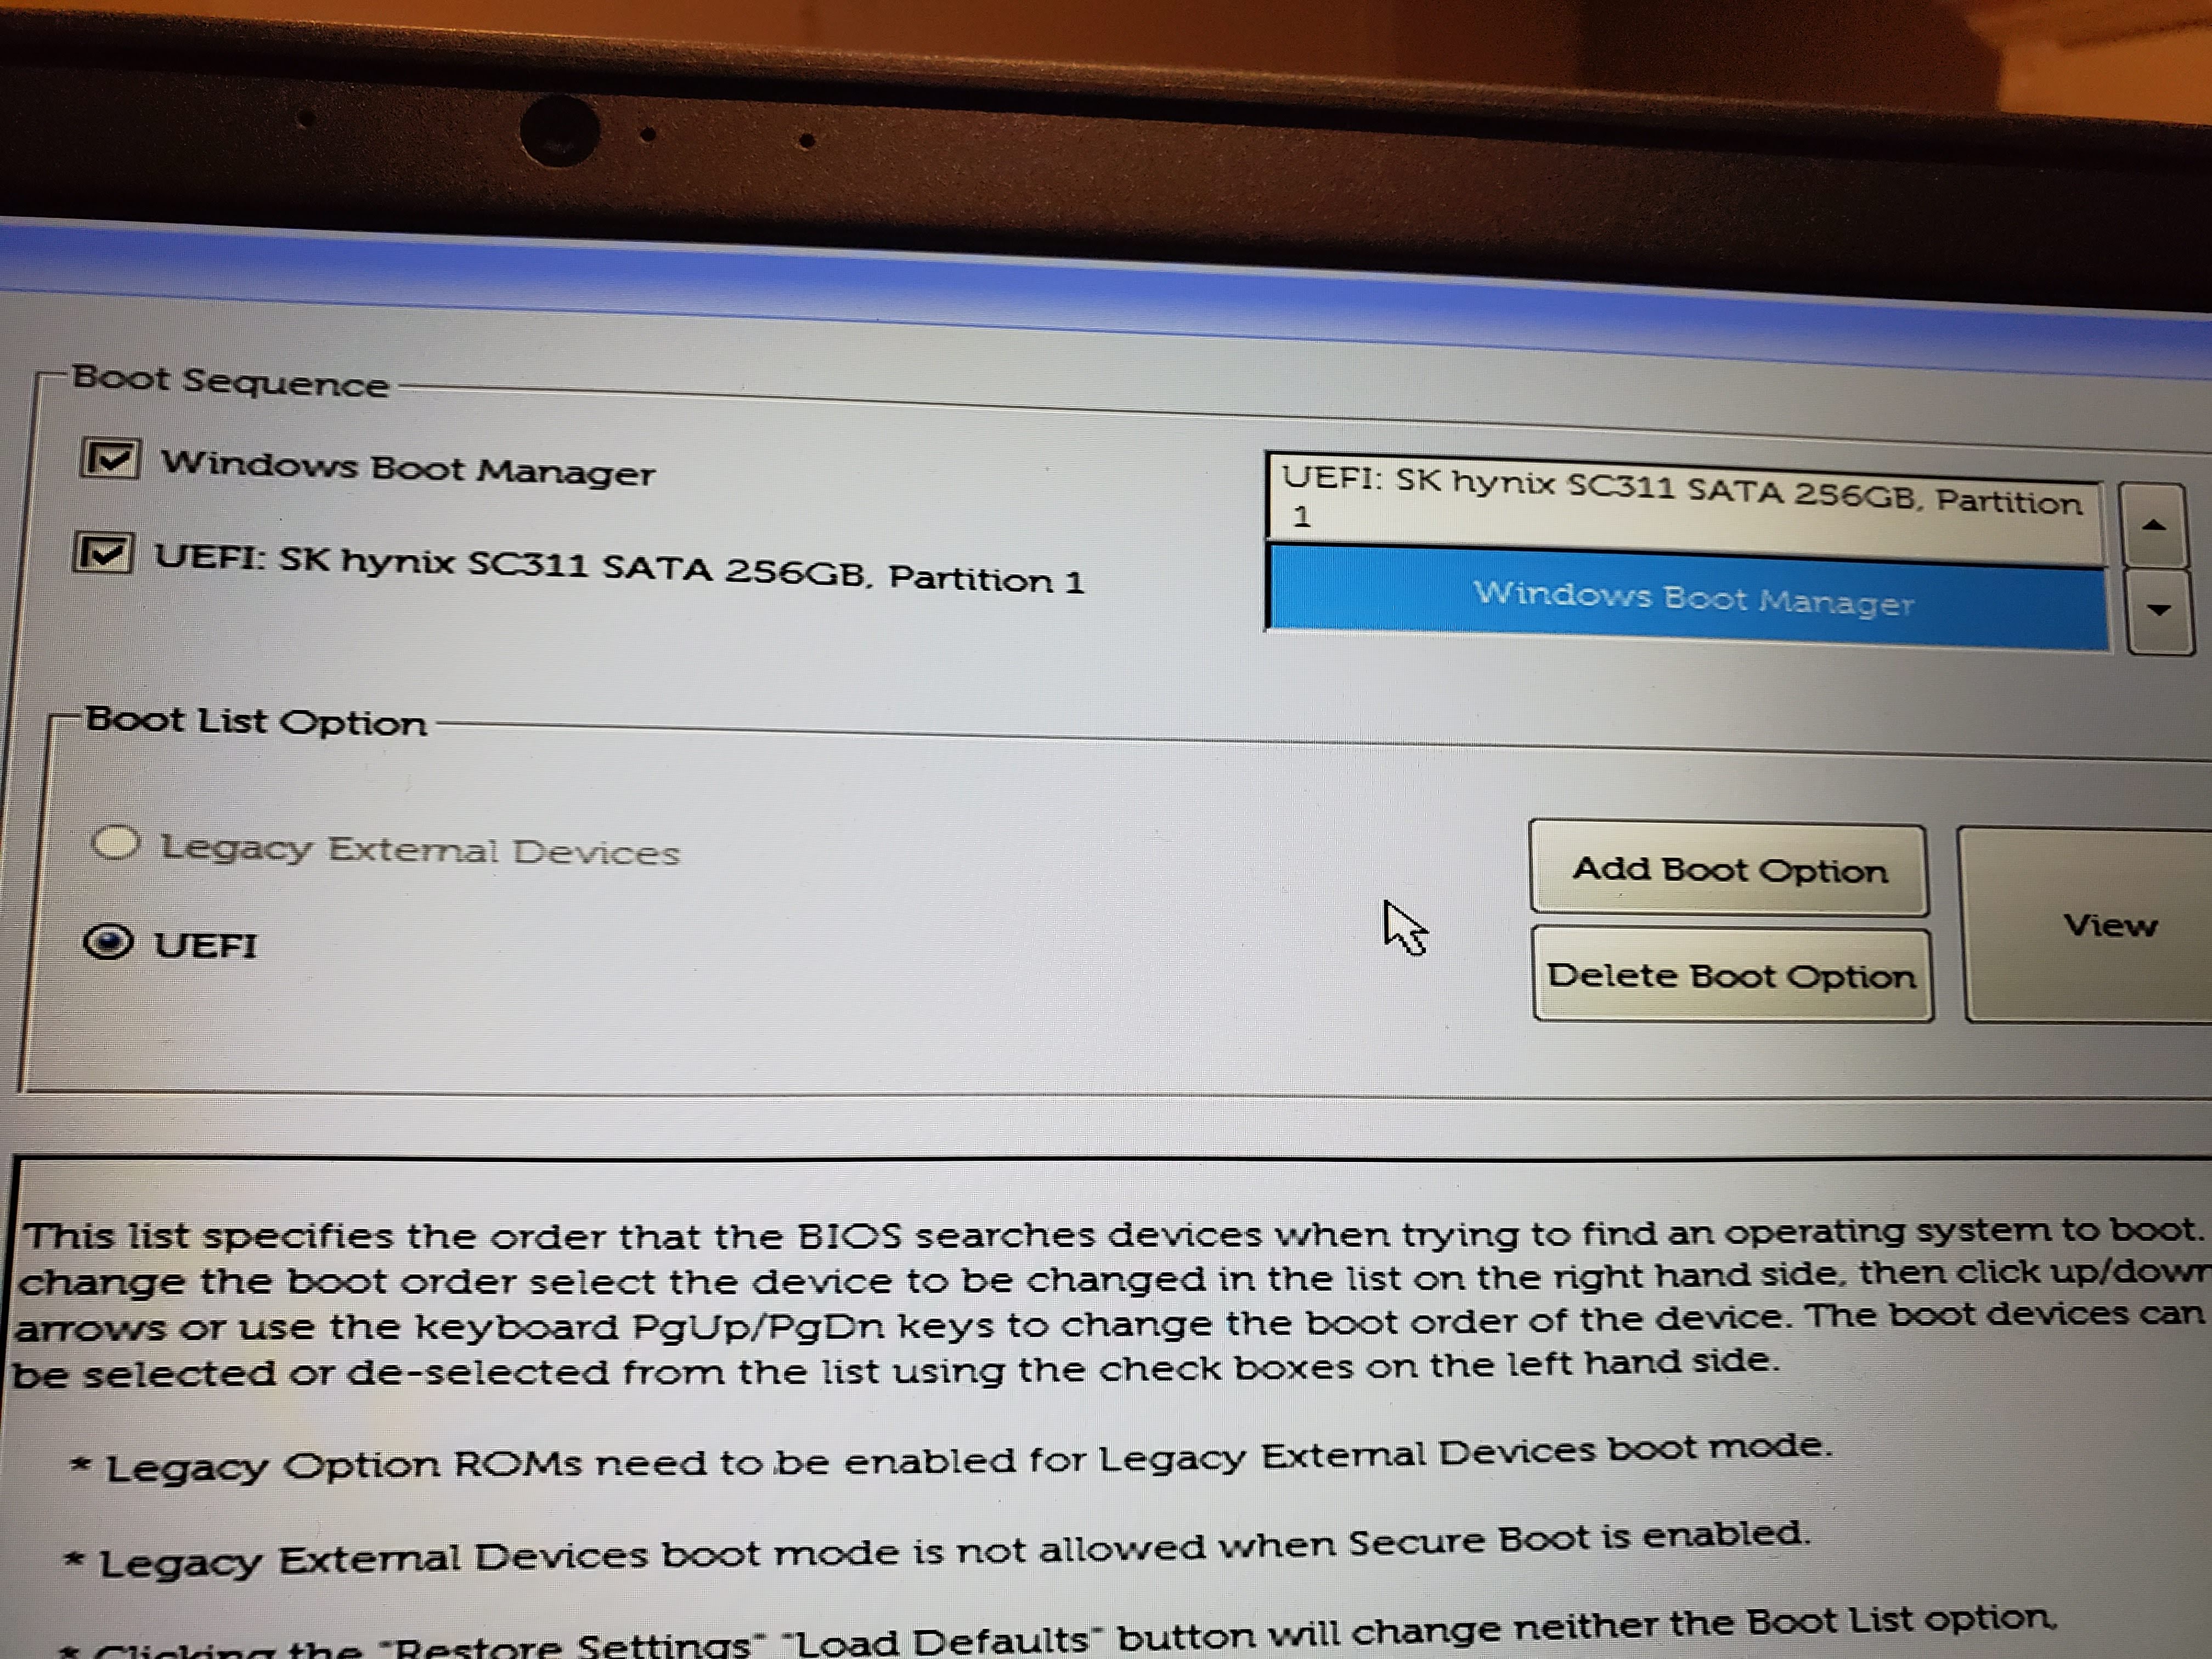
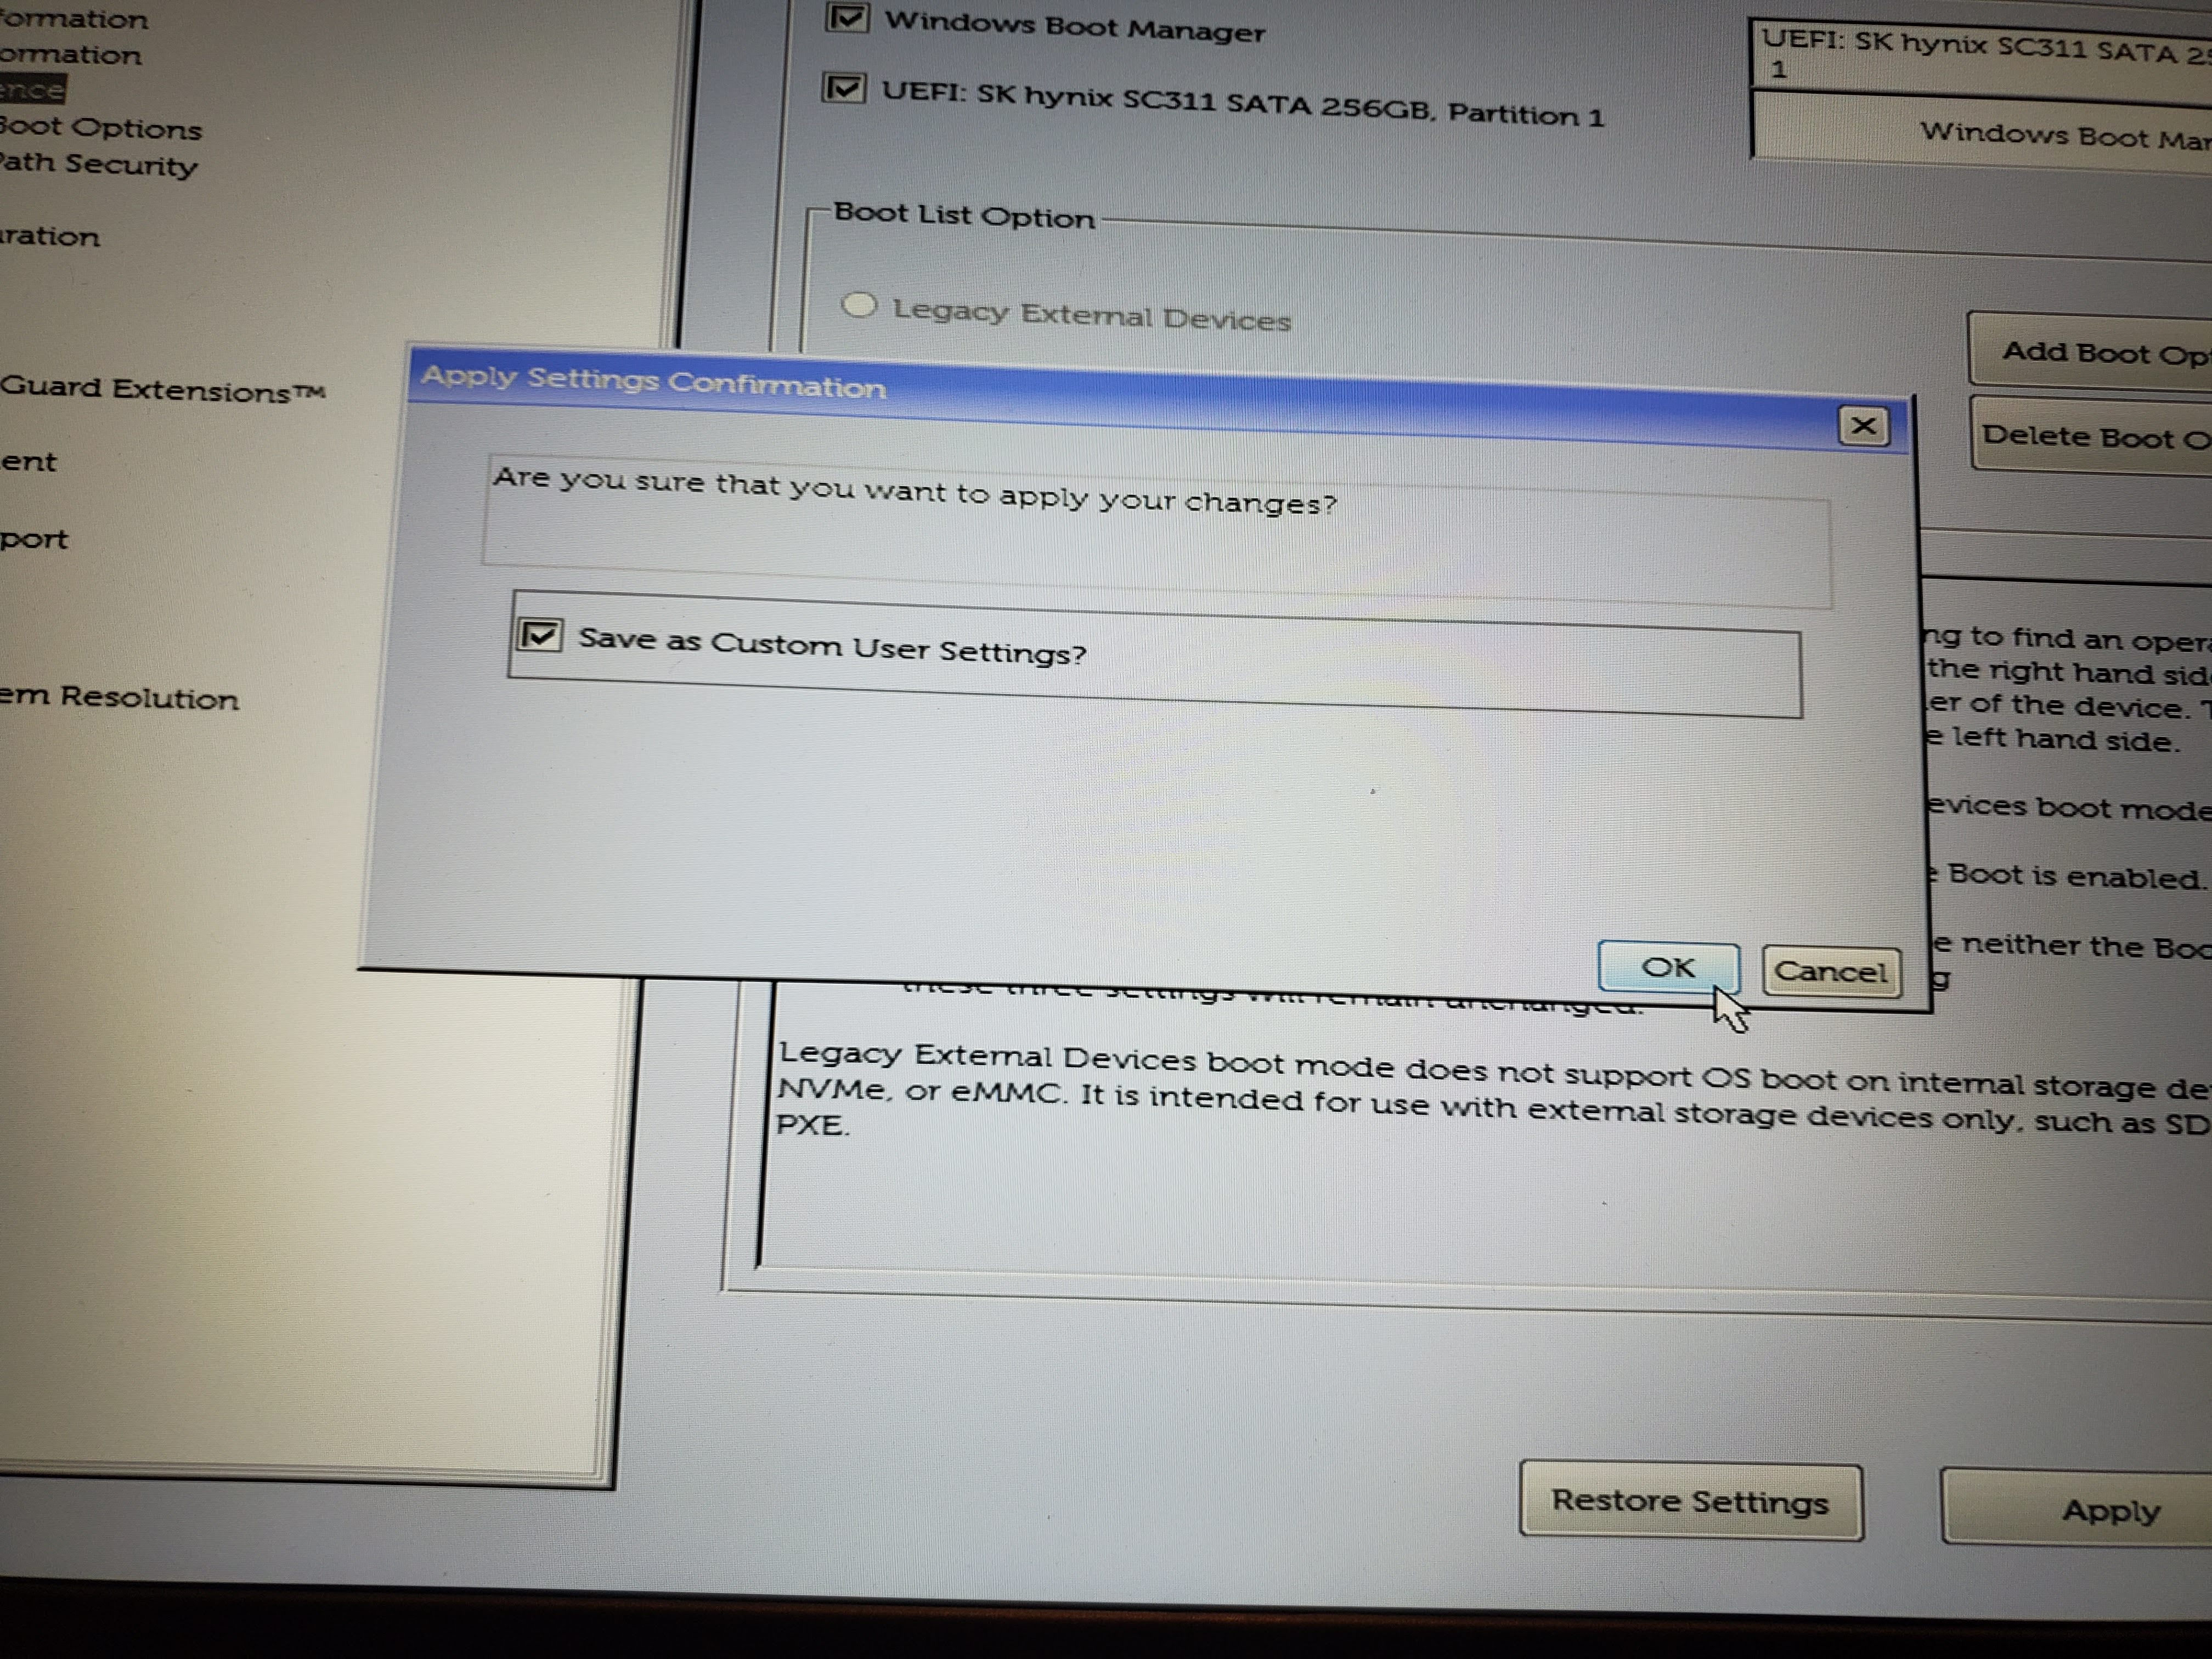
Now place the back cover back on be sure to snap all the clips into place and tighten up the screw. Once that’s done boot up your computer. What’s weird for me is that I needed to go into the BIOs Settings and change the boot sequence.
I had to switch the boot sequence from Windows Boot Manager to UEFI: SK hynix SC311 SATA 256GB Partition 1 to the top and Boot Manager to the bottom.
That’s it you should have successfully installed a new hard drive into your Dell G7 Laptop.
Purchase: Crucial MX500 2TB 3D NAND SATA 2.5 Inch Internal SSD – CT2000MX500SSD1(Z)

