I figured I would take you through my entire experience with installing speakers that will work with Sonos outdoors.
First Step.
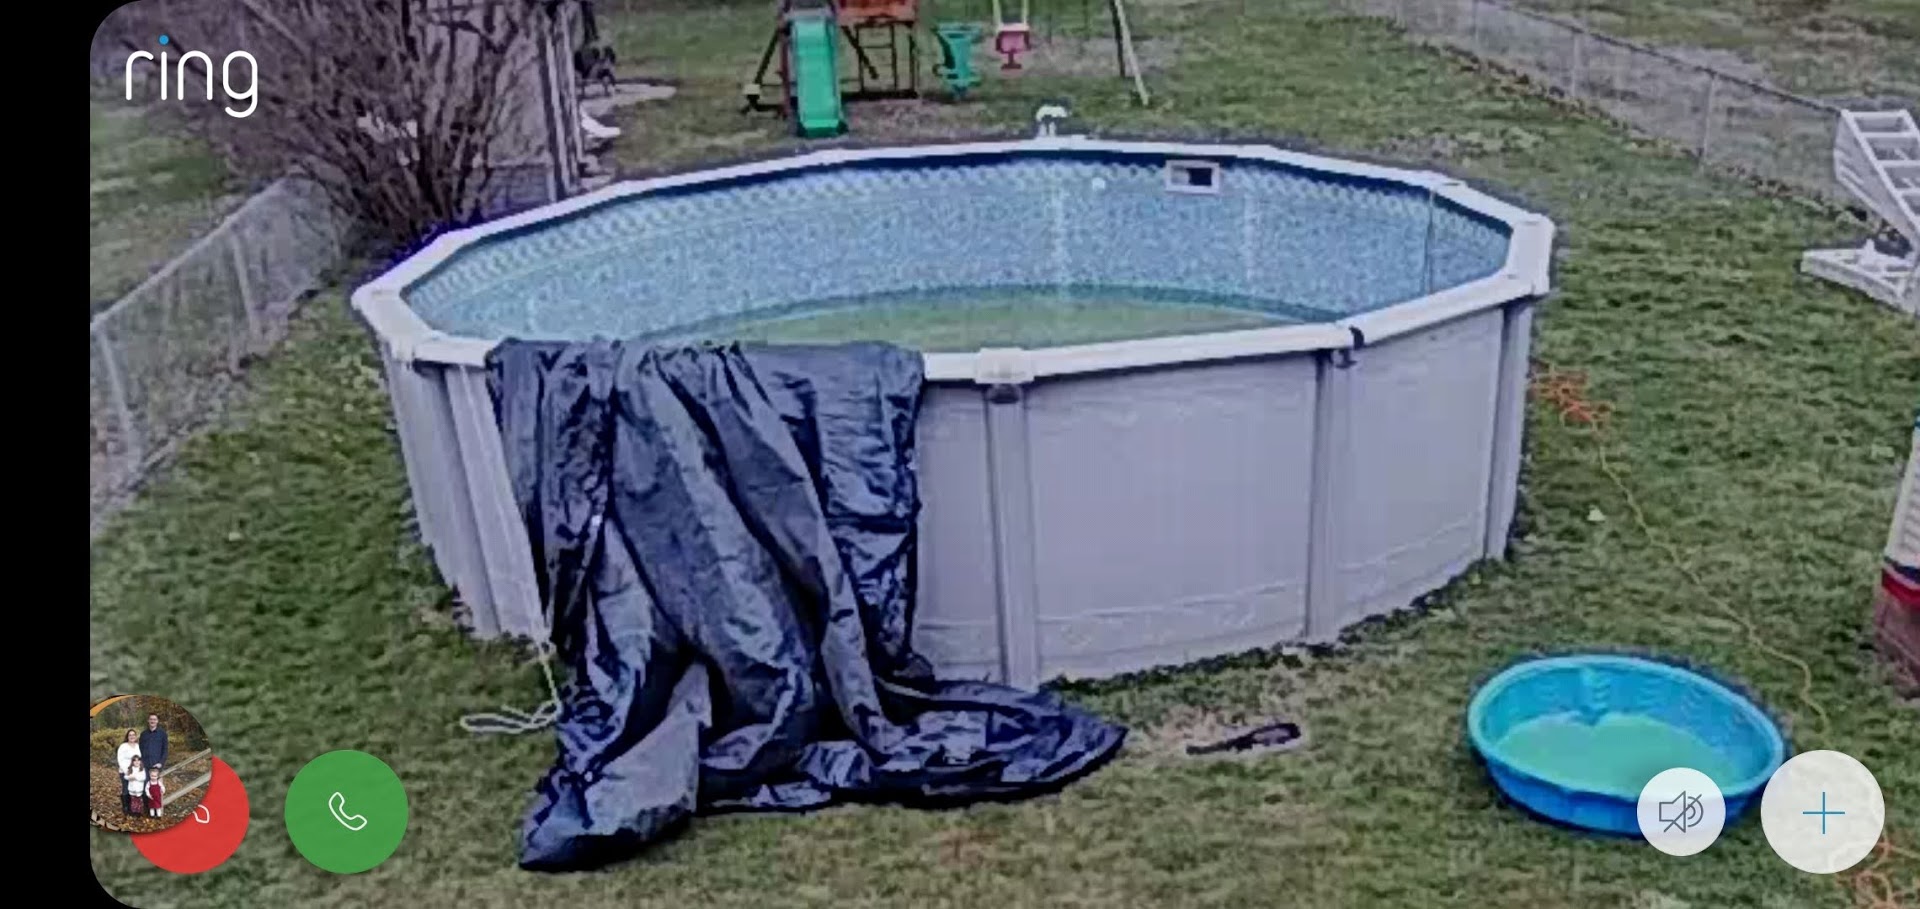
We rarely used our swimming pool. So this spring we decided to finally tear it down. Good news is we posted it on Facebook and someone bought it and took it down themselves. (All I had to do what get rid of the liner).
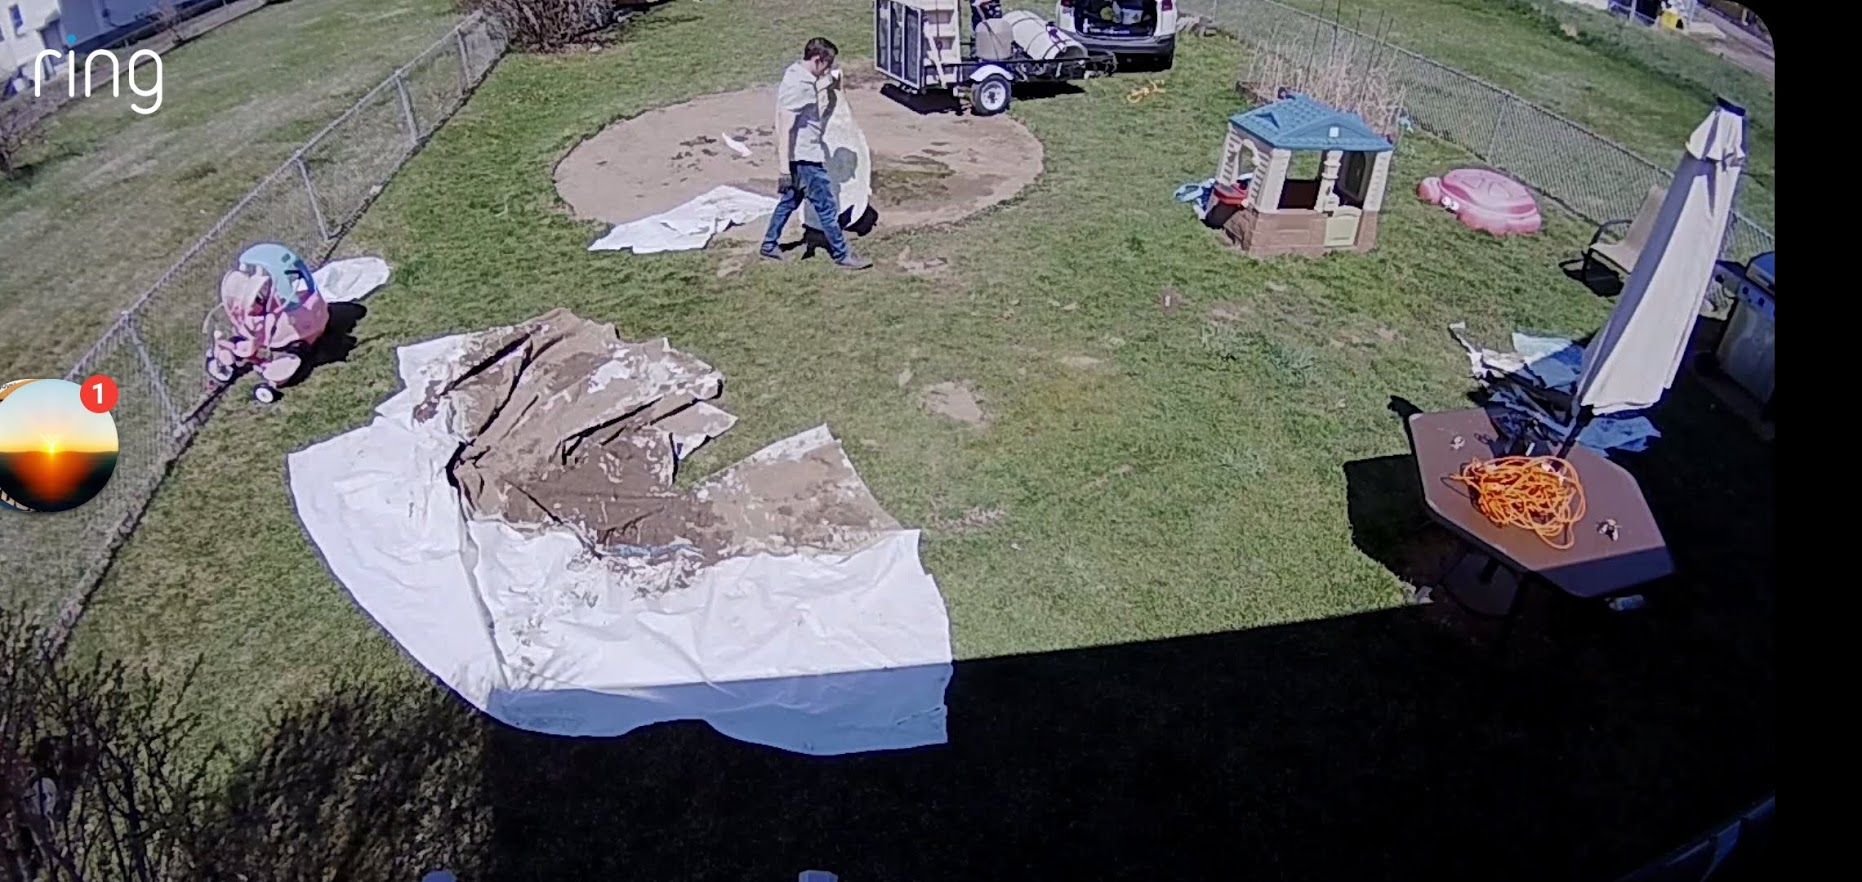
Ok, So taking the pool down took about roughly 2 hour’s to get everything packed up and the liner cut up and thrown away.
Step 2.
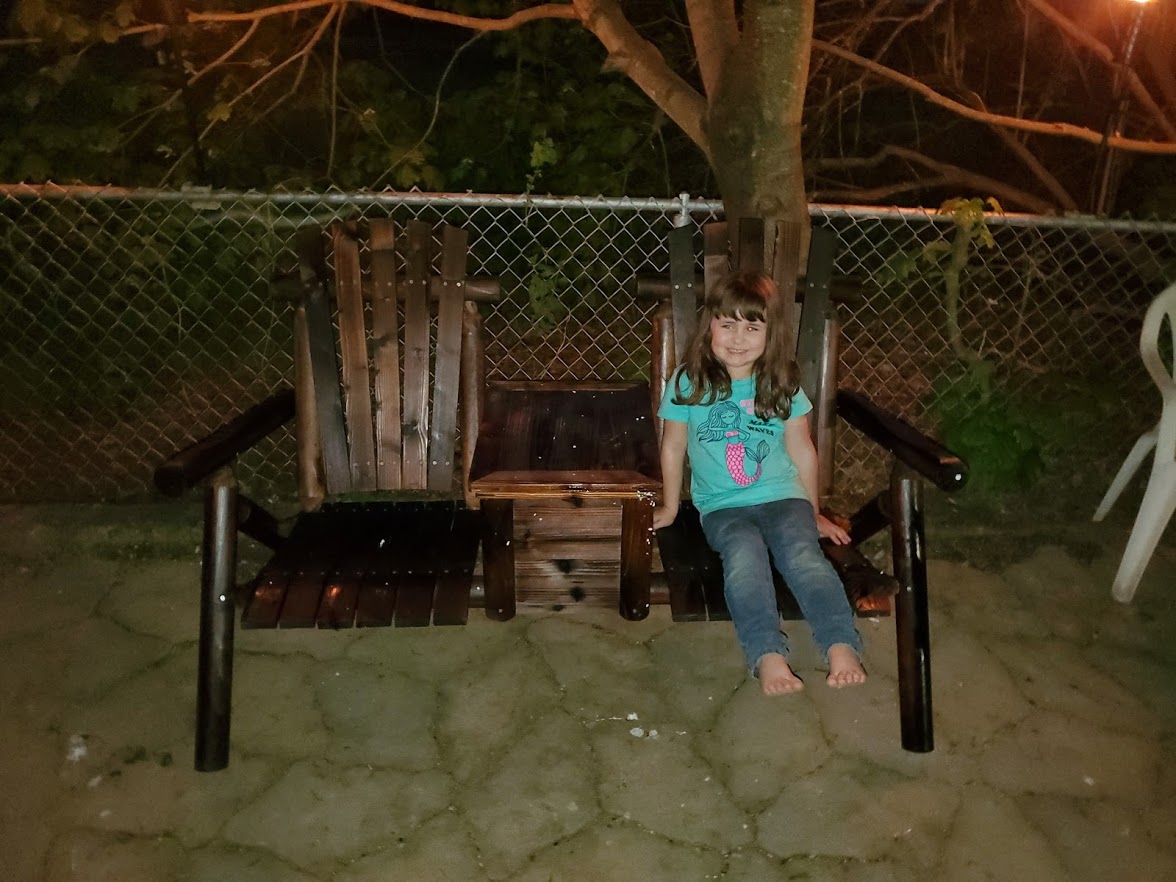
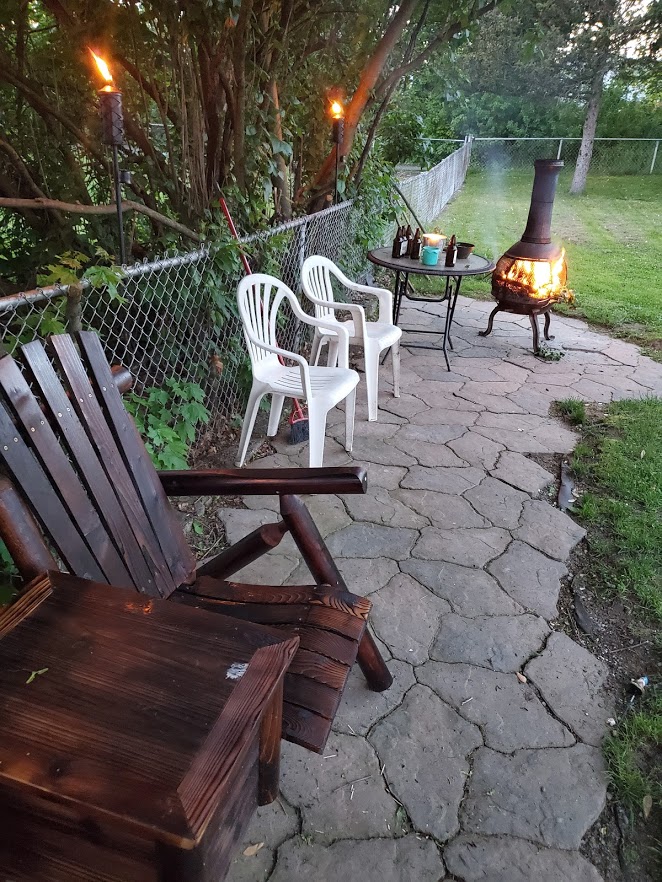
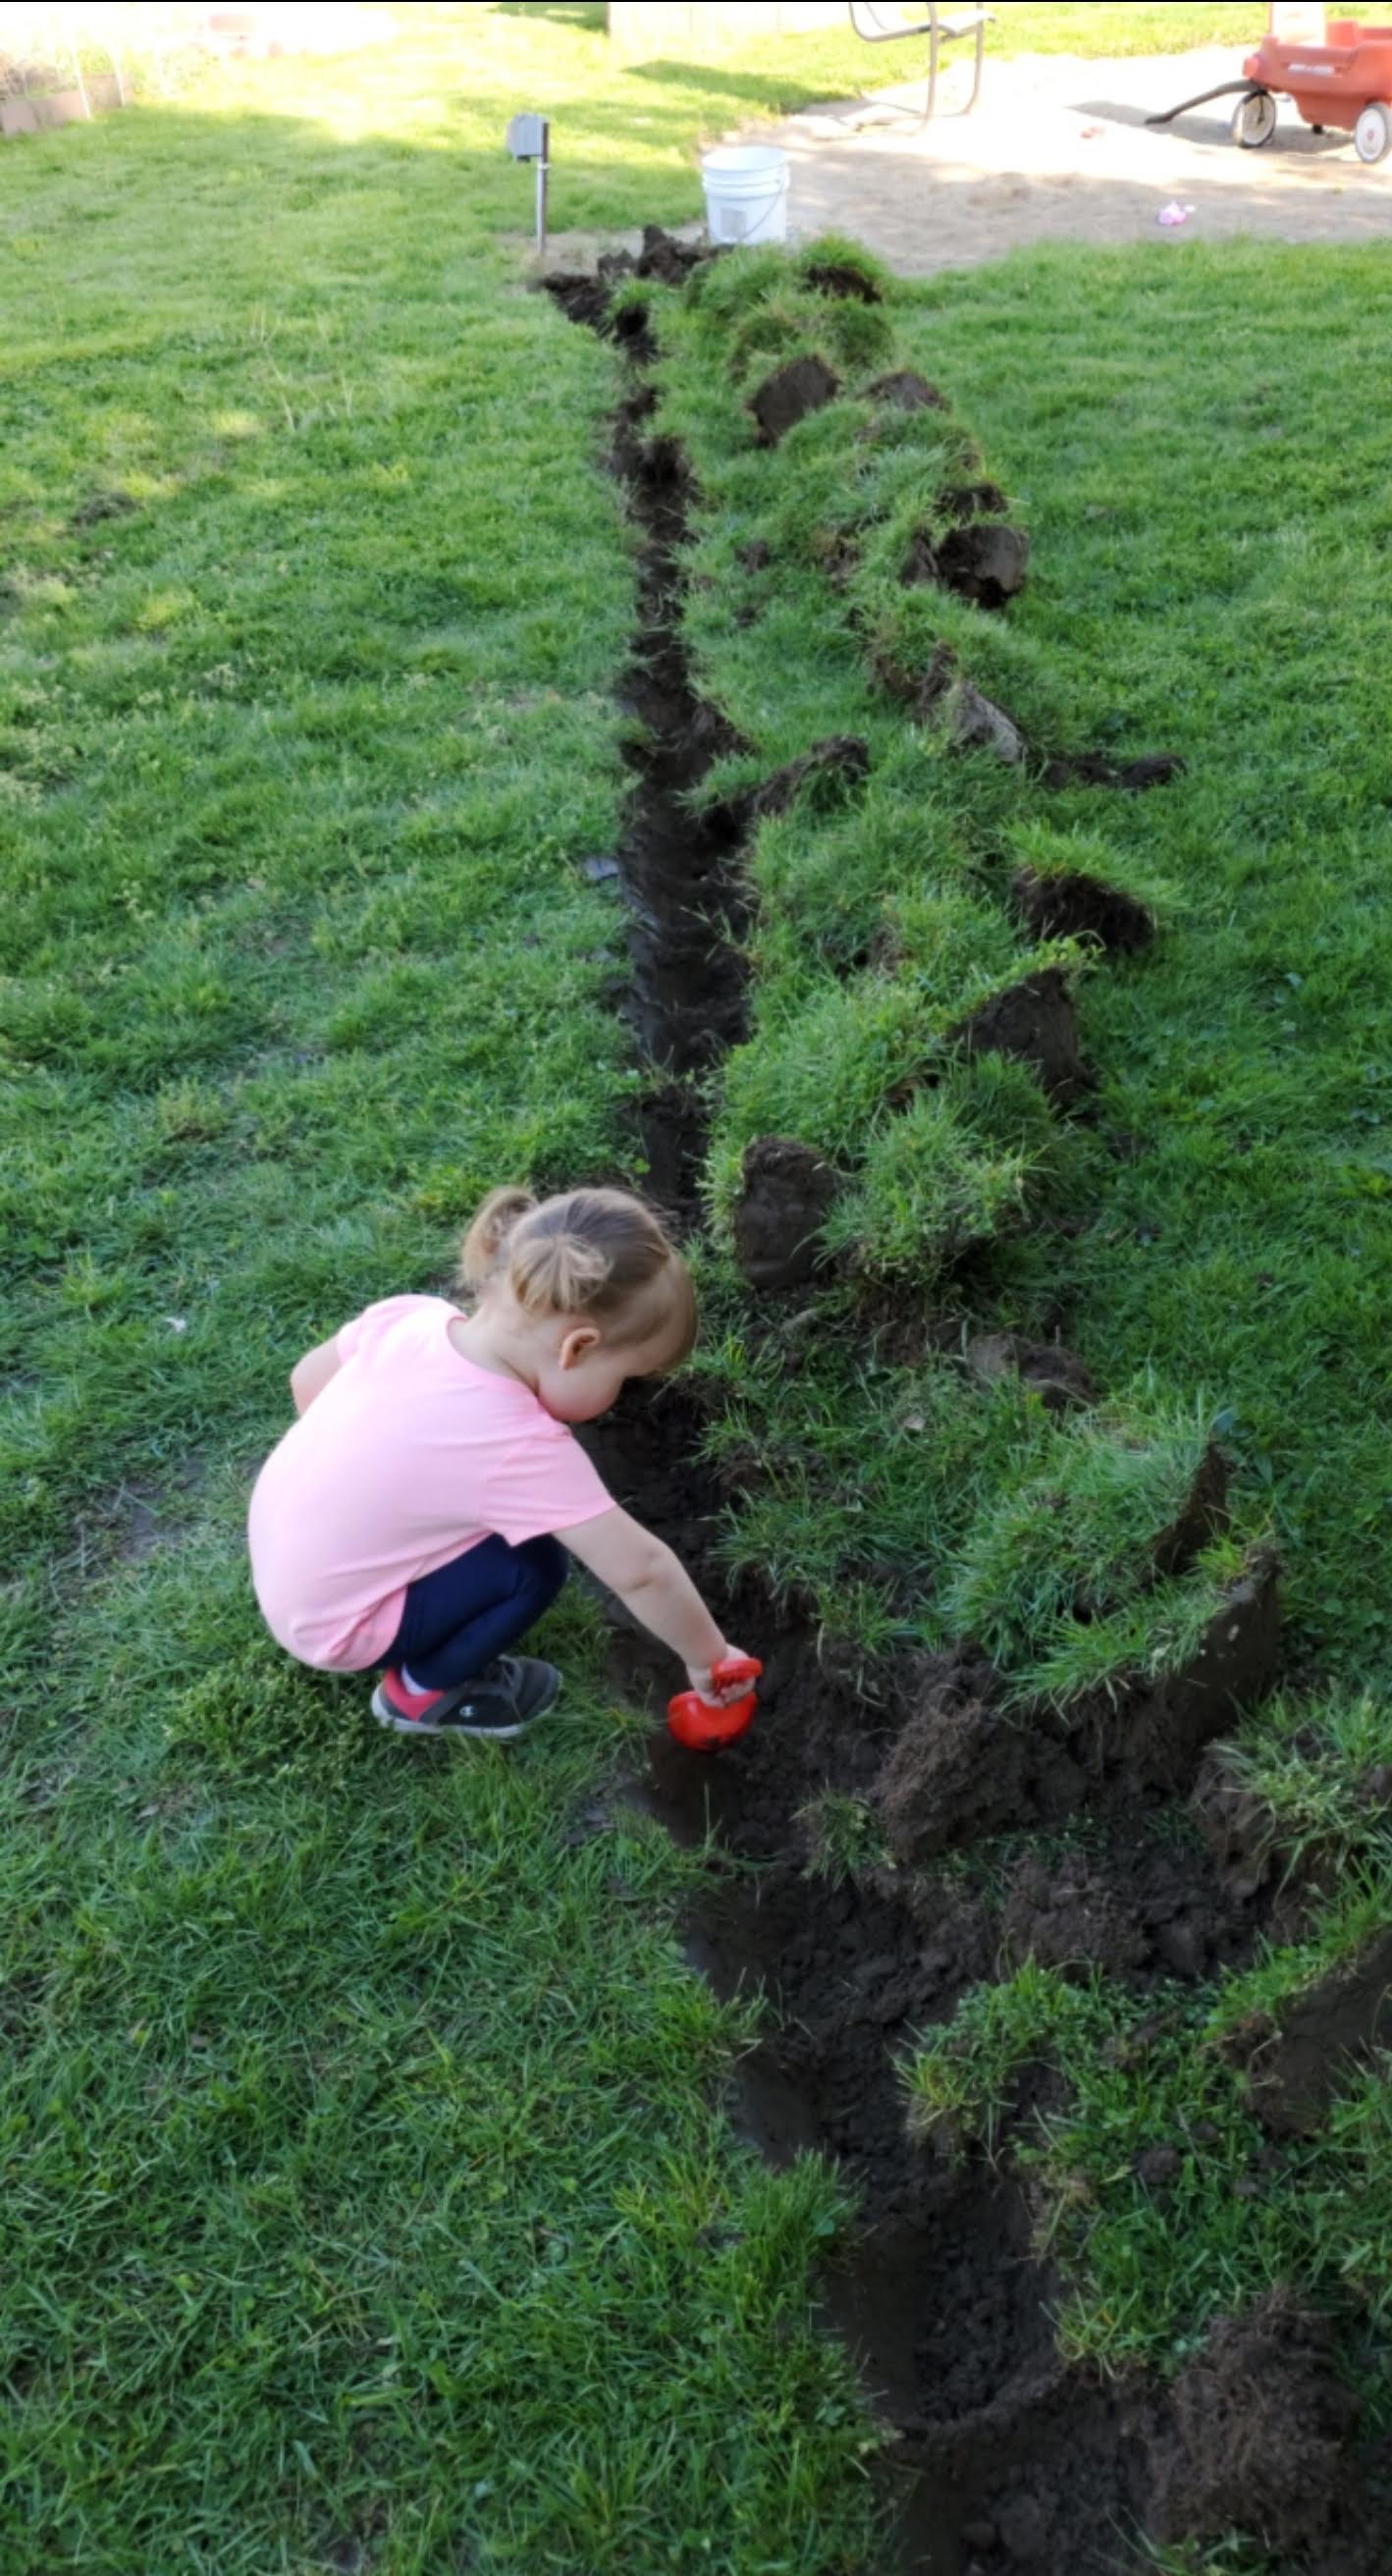
Last year my wife and I built a patio near our kids swing set so we had somewhere to hang out. I decided instead of just killing the power that was ran over to the pool, I was going to have an electrician come and replace the 230 line that was ran to the pool over to the shed.
Right when I had the power ran this is when I actually got the idea of installing Sonos and a Ring camera over to the shed.
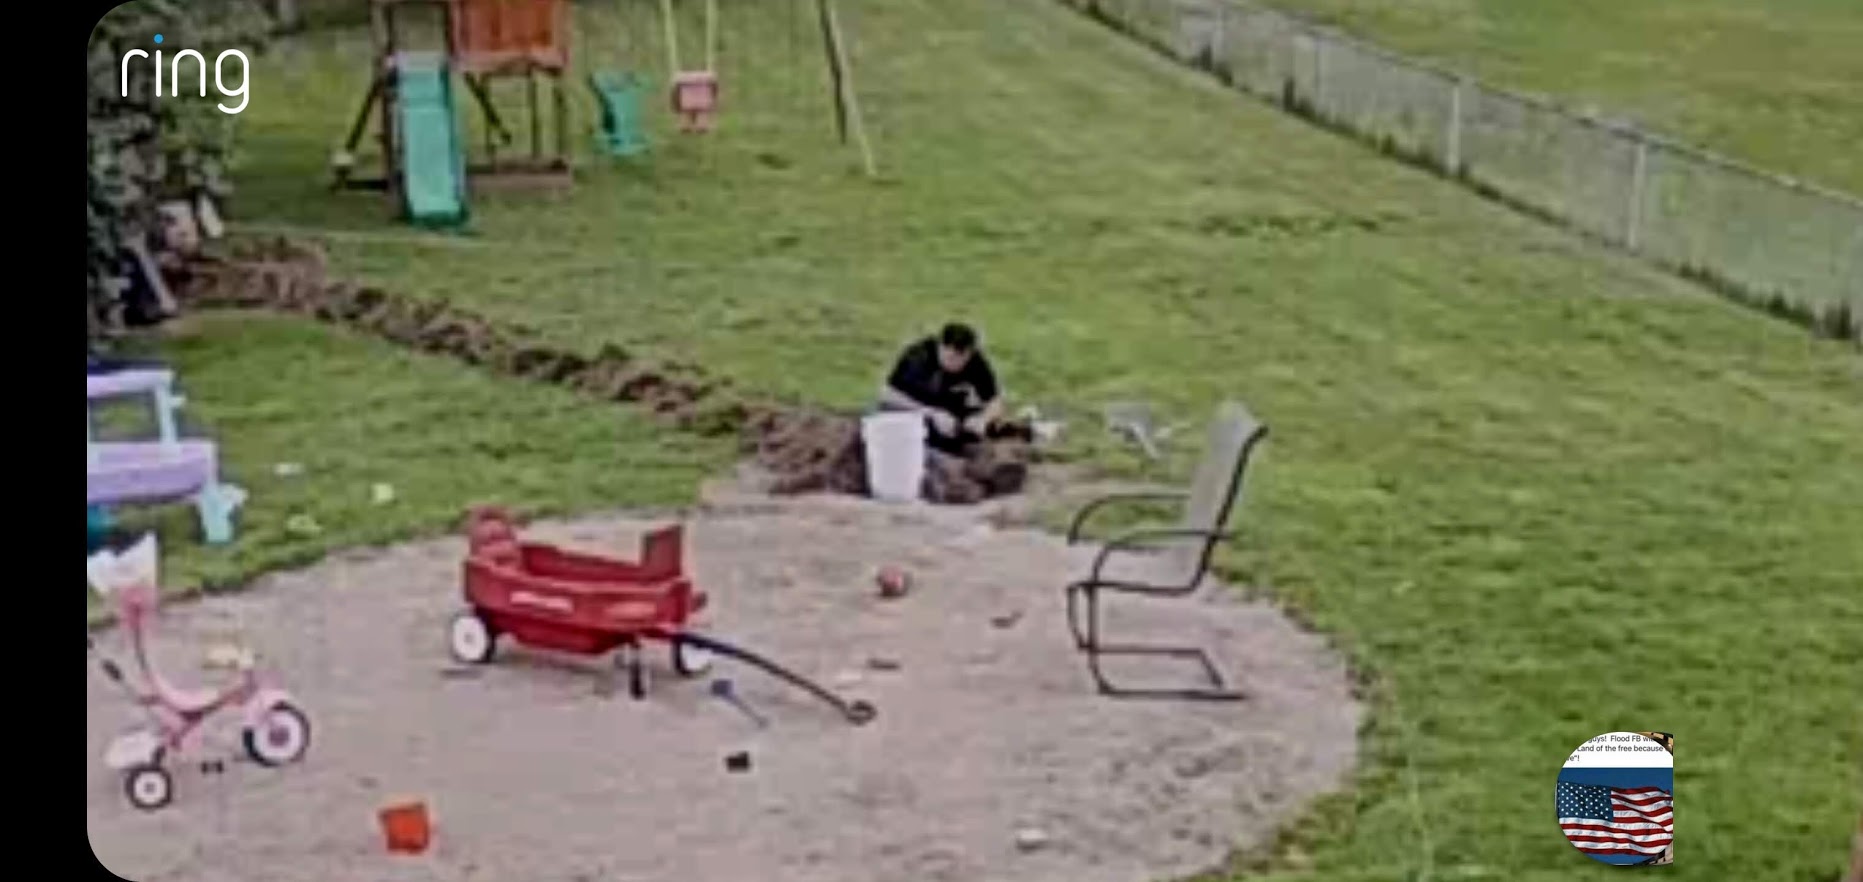
I had to dig about a 30′ foot long trench and about a foot deep. I even had the little one help.
The next day the electrician came out ran all the cabling and outlets to the shed.
Step 3.
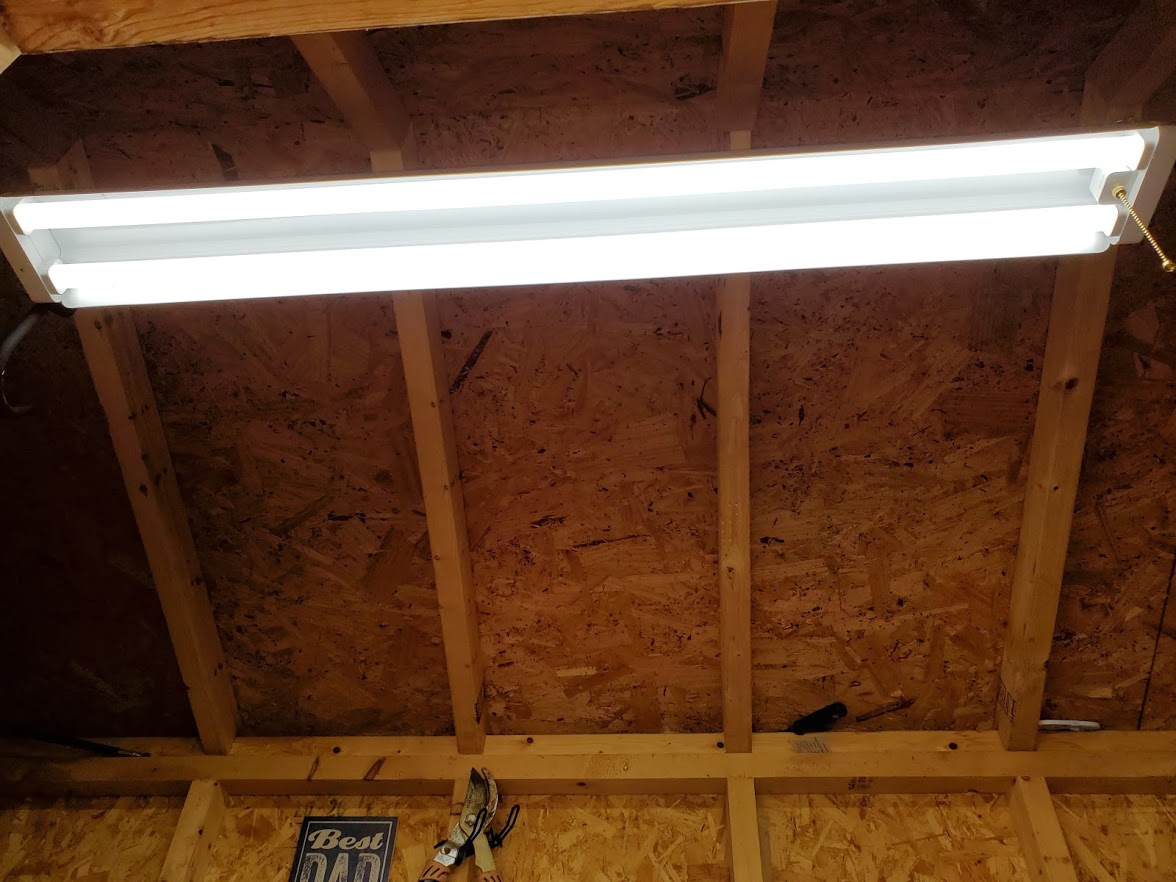
My next step was to a add a ceiling light inside the shed so I could see what I was actually doing. Mr Beam’s worked great for the last 2 years however now that I have power it was time to upgrade.
Step 4.
Now that the power and lighting has been installed the next step was to extend my WiFi and network over to the shed. I was really considering just running a CAT5 over however the electrician was kind enough to fill the hole back in for me. So since I already have Google WiFI in almost every room of my house I purchased another one.
Step 5.
I ran out of outlets in the shed so I decided to purchase a nice wall mountable surge/power strip.
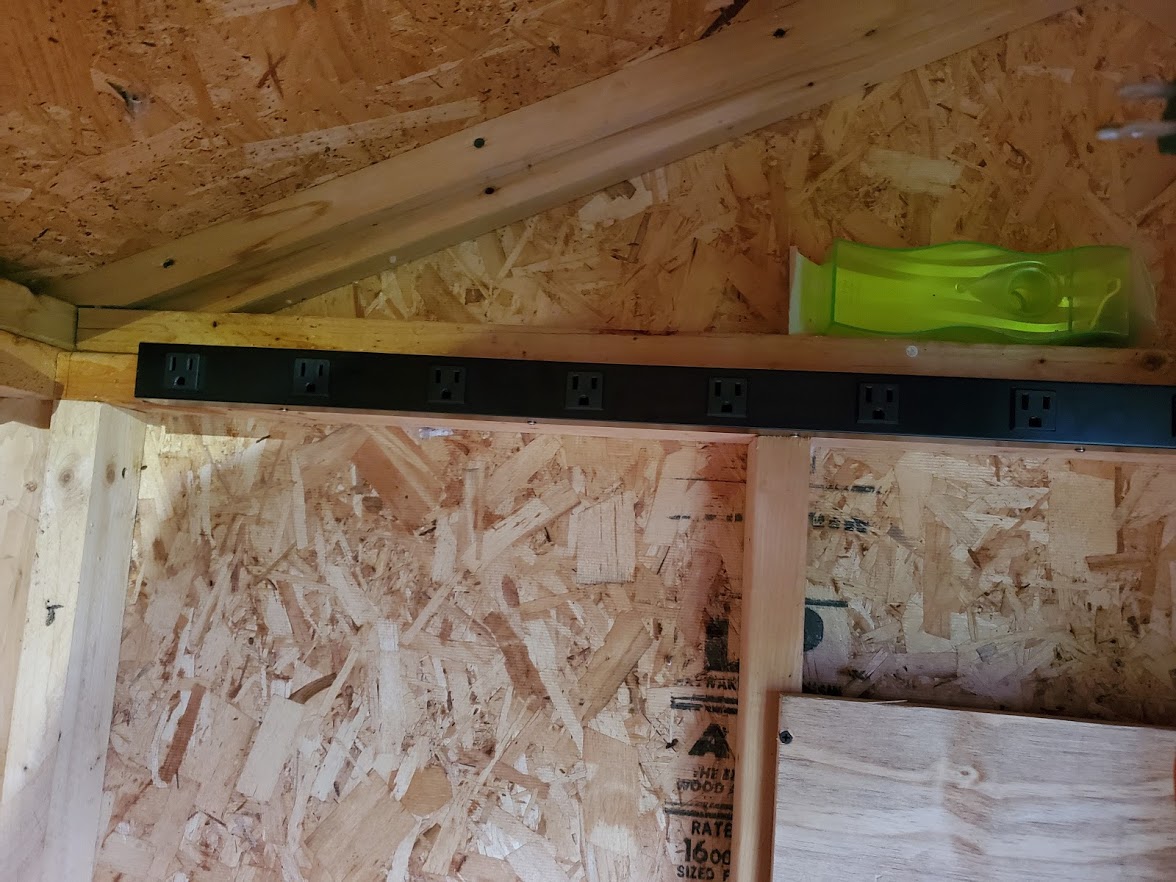
Purchase: Stanley 31610 SurgeMax Pro 9 Outlet Metal Surge Protector, Black
Step 6.
So now I went to Lowes and bought a piece of plywood and a circle saw to make perfect holes for the cables.
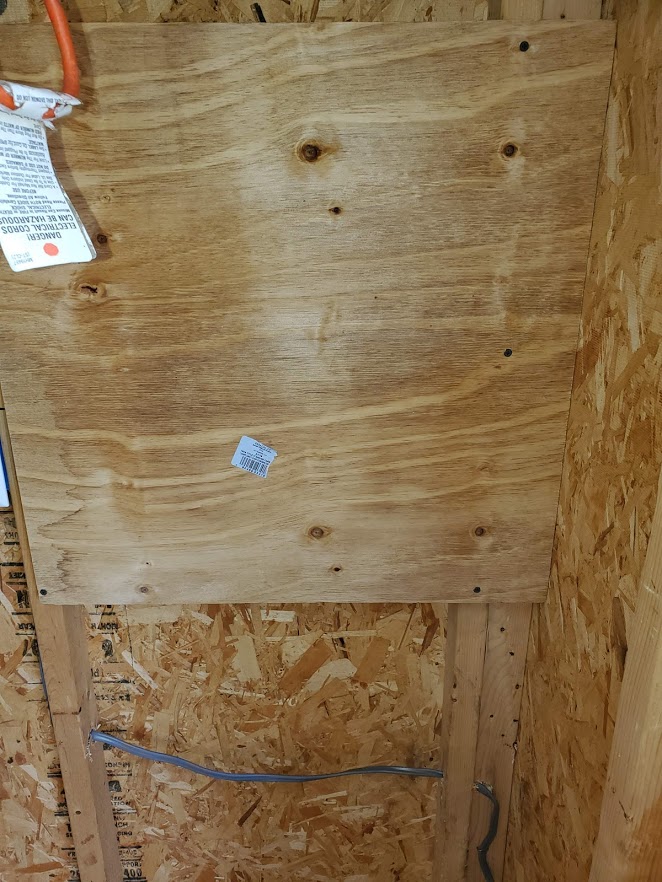


Purchase: Desk Grommet (5 Pack) + Hole Saw kit – Ultimate Grommet Hole Bundle Kit 2-3/8″
Step 7.
Next was the expensive and fun part. We needed to purchase the Sonos AMP so we would control Sonos and group all speakers from inside the house and outside now. I also purchased the Sonos AMP mount so the Sonos AMP and wiring could be mounted to the plywood. My shed’s small so I try to pack as much as I can so I wanted everything to be secure inside there.
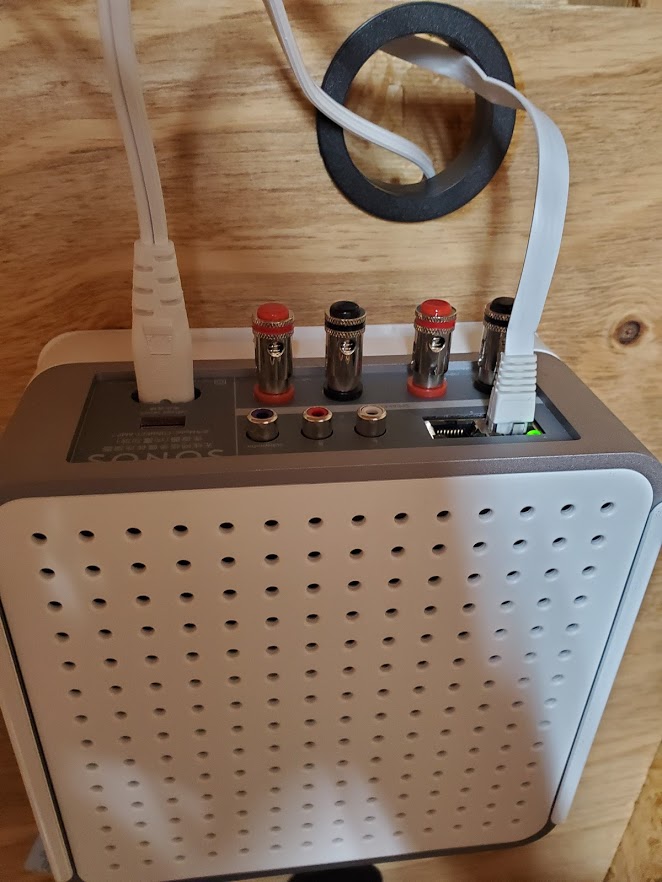
Purchase: Sonos Amp, The Versatile Amplifier for powering All Your Entertainment
Purchase: Sanus Wall Mount for Sonos Amp – Slim Black Design with Lockable Latch for Security
Step 8.
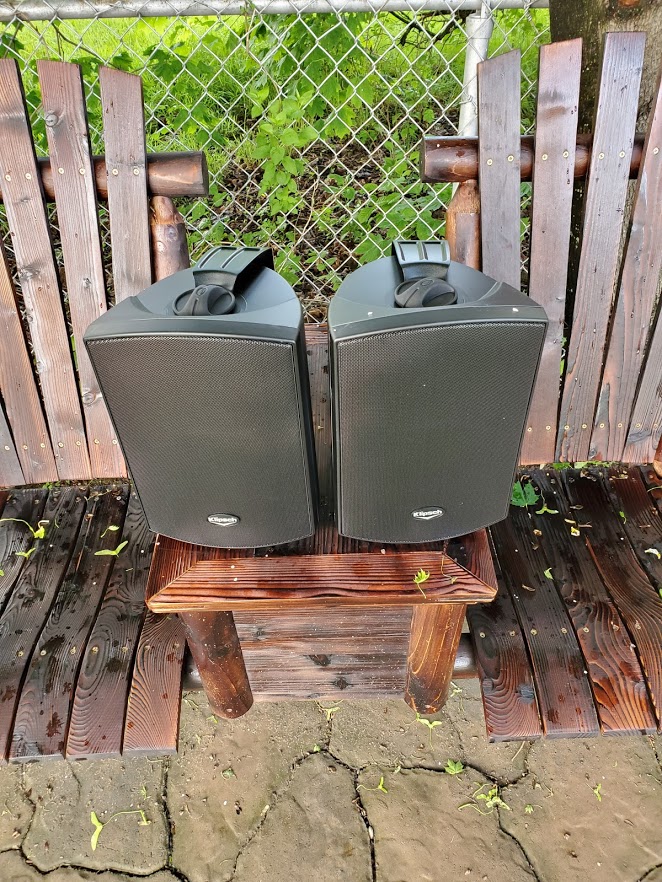
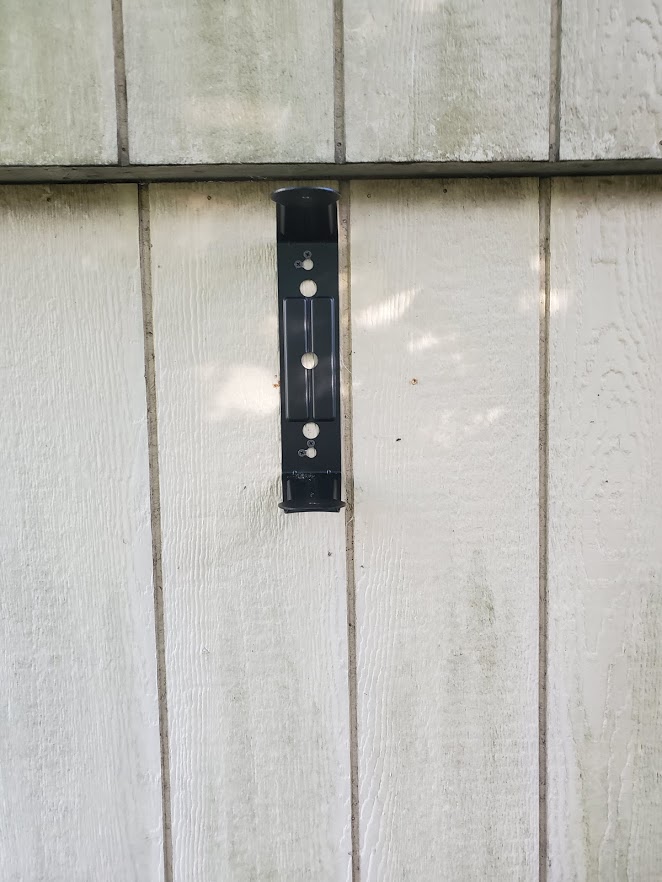
So now that the Sonos AMP has been installed I connected it to the Google WiFi. Powered it on and started running speaker cable to connect to the outdoor speakers. I decided to purchase Klipsch Outdoor speakers just from reading a ton of reviews on them.
 Installing the speakers were so easy. The mounting brackets were awesome.
I also went and purchased outdoor speaker covers so they don’t get wet.

Purchase: Klipsch AW-650 Indoor/Outdoor Speaker – Black (Pair)
That’s all!
Addison Approves!